|
Part 4: Shaping the Seat  There are many different ways to shape the seat of this Shaker bench design. If you have a lot of time, no deadline and good elbows, you could do it all with hand tools. For me this option is just too laborious, so instead I use power tools to remove the bulk of the wood, and then I use hand tools to clean-up and finalize the shape. The way I proceed is pretty much the way Christian Becksvoort demonstrated it in his article. Here it goes: First I generate the cove situated just in front of the row of spindles. To do this, I use my table saw and two straight edges as shown in the picture below.  Set-up at the table saw. With the help of parallel rules, I adjust the height of the blade and set-up the angle of the straight edges that will guide the seat blank. Once everything is secure I lower the saw blade so it just sticks out about 3/16" and slowly push the seat blank though between the guides. I then raise the blade another 3/16" and feed the seat again. I repeat this operation until I reach my mark and have the desired cove. 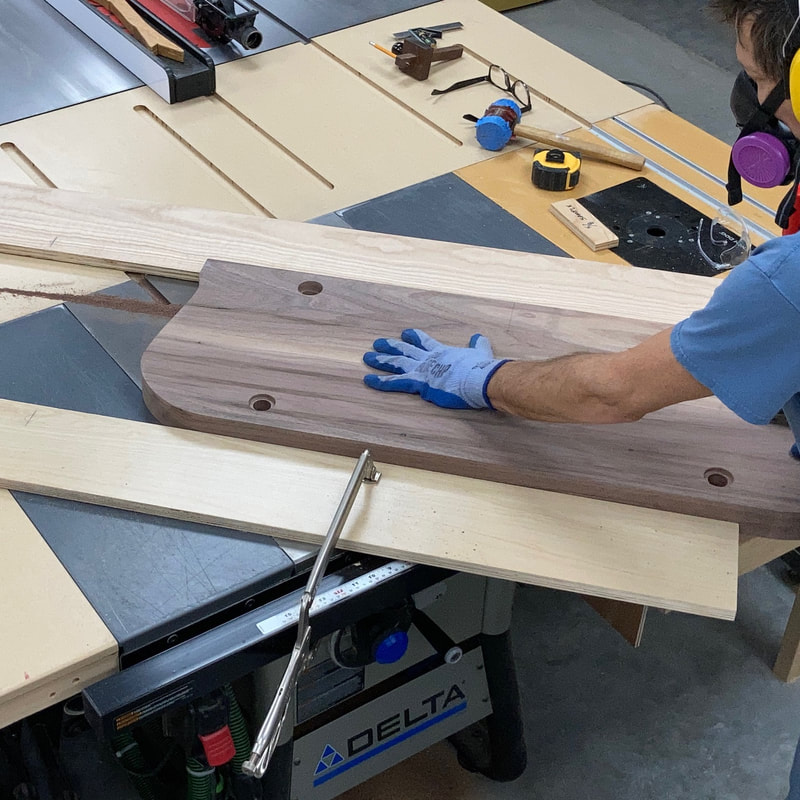 The two boards are clamped to the table saw and guide the seat at the desired angle to create a cove. 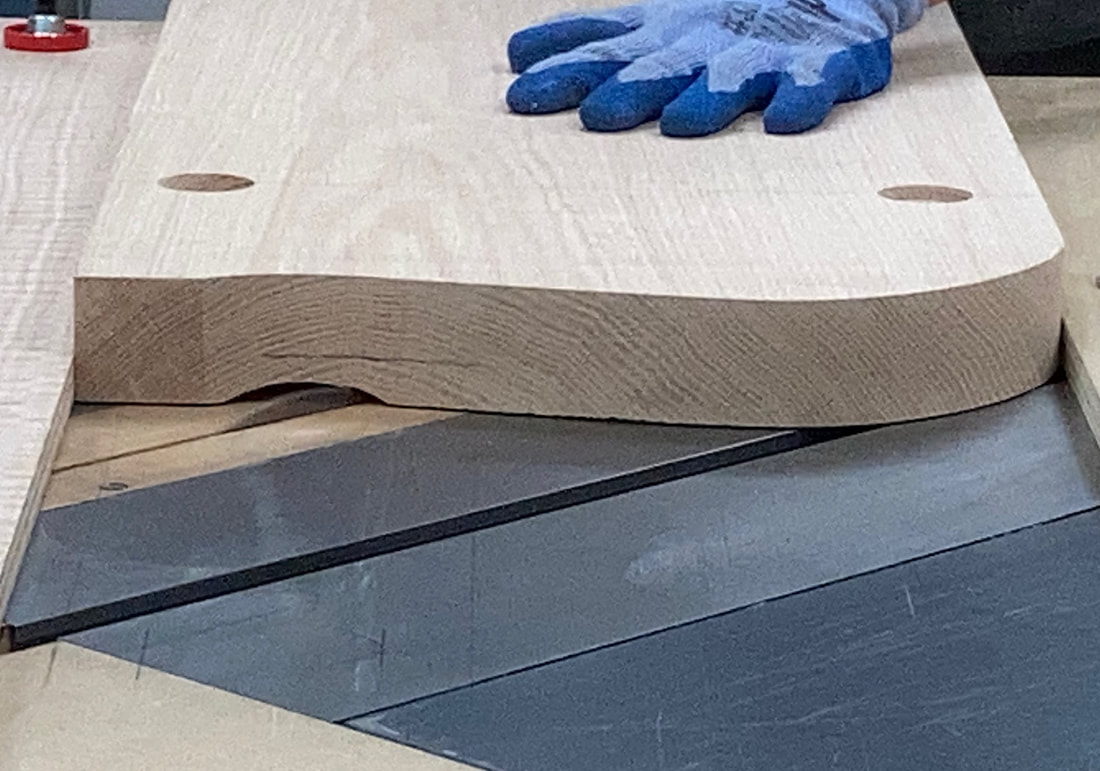 I raise the blade by small increments after every pass until I reach my mark. 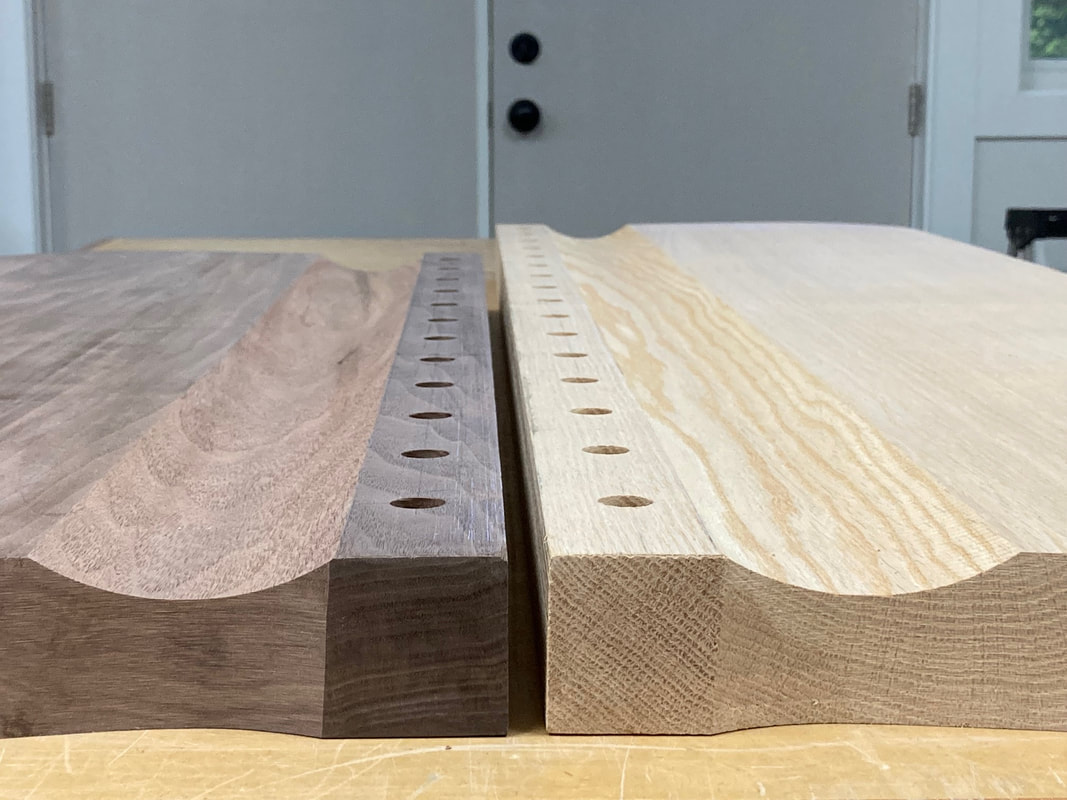 The completed coves. The next step is to cut the slope of the seat which goes from the front edge of the seat to the bottom of the cove that I just made on the table saw. To remove this material, I use a router on a sled that is built to cradle the seat blank and tilted to create the desired slope. It's a messy and noisy job, but I get fairly quickly a nice even slope that will be easy to clean-up with a hand plane later on. 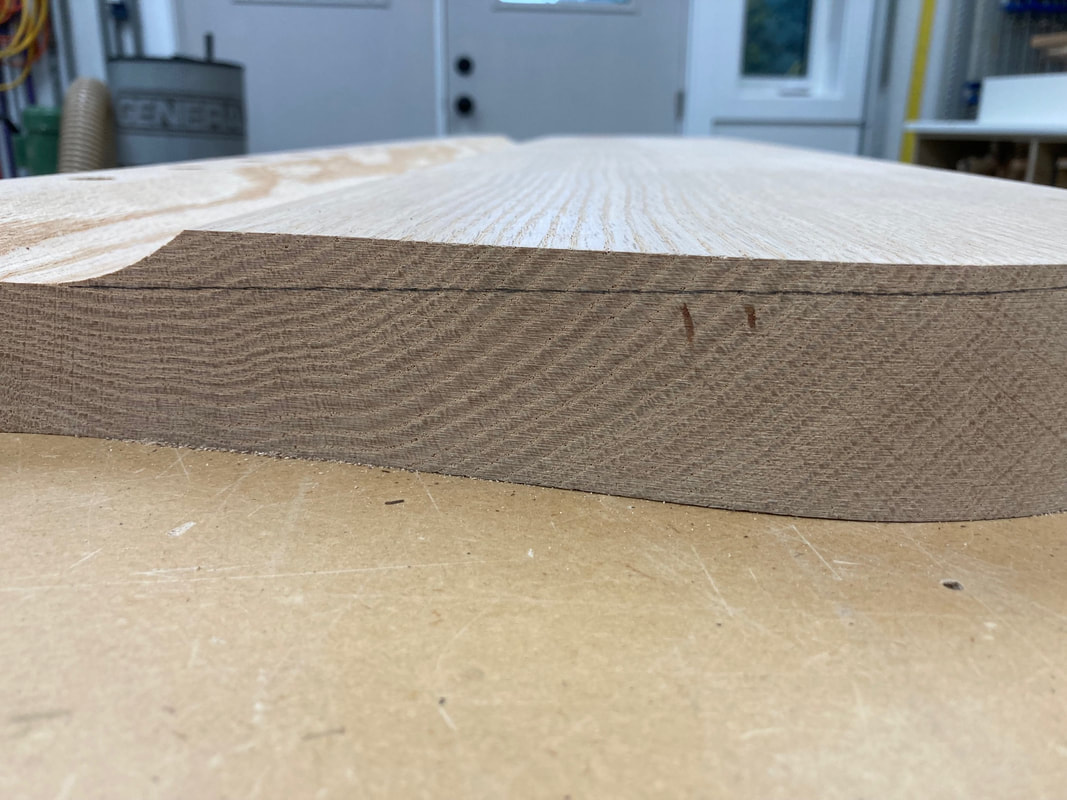 The line shows the slope that needs to routed out. 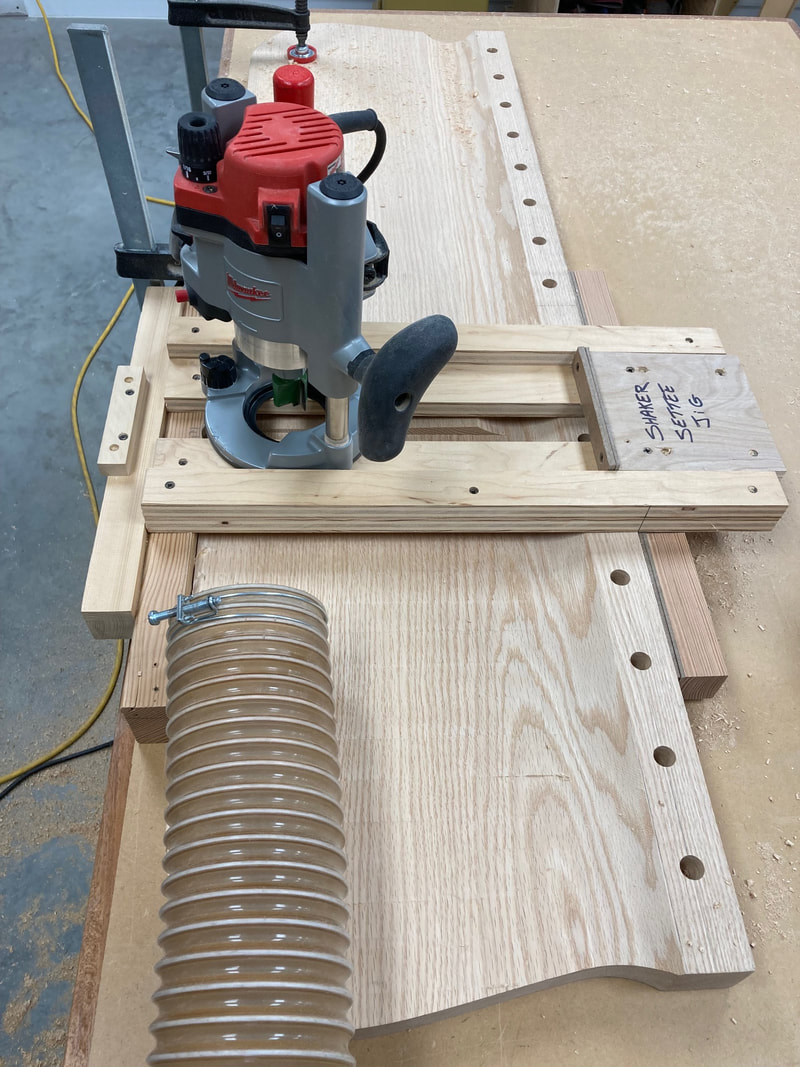 The jig on which the router rides onto. Finally to finish off the bulk of the shaping, I use a router table and a handheld router to round over the top edge of the seat and put a chamfer on the bottom edge. The remainder of the shaping is done with a hand plane, spokeshaves, rasps, scrapers, and sandpaper. 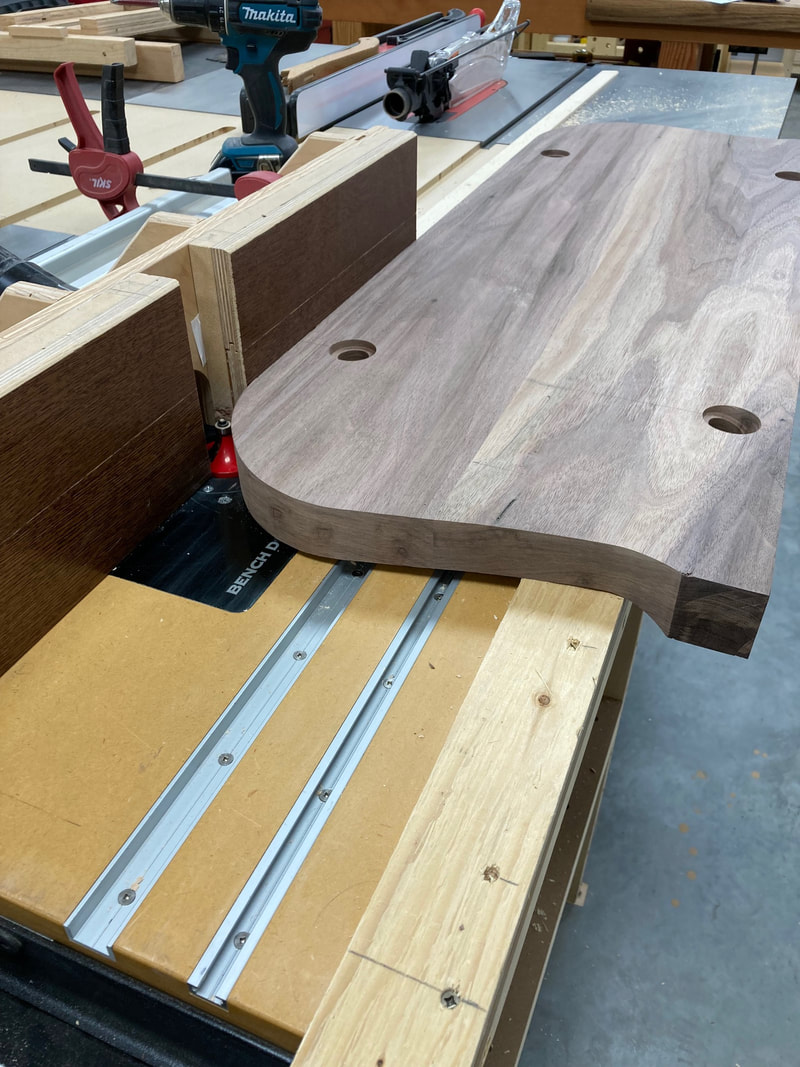 Round over and chamfer at the router table. 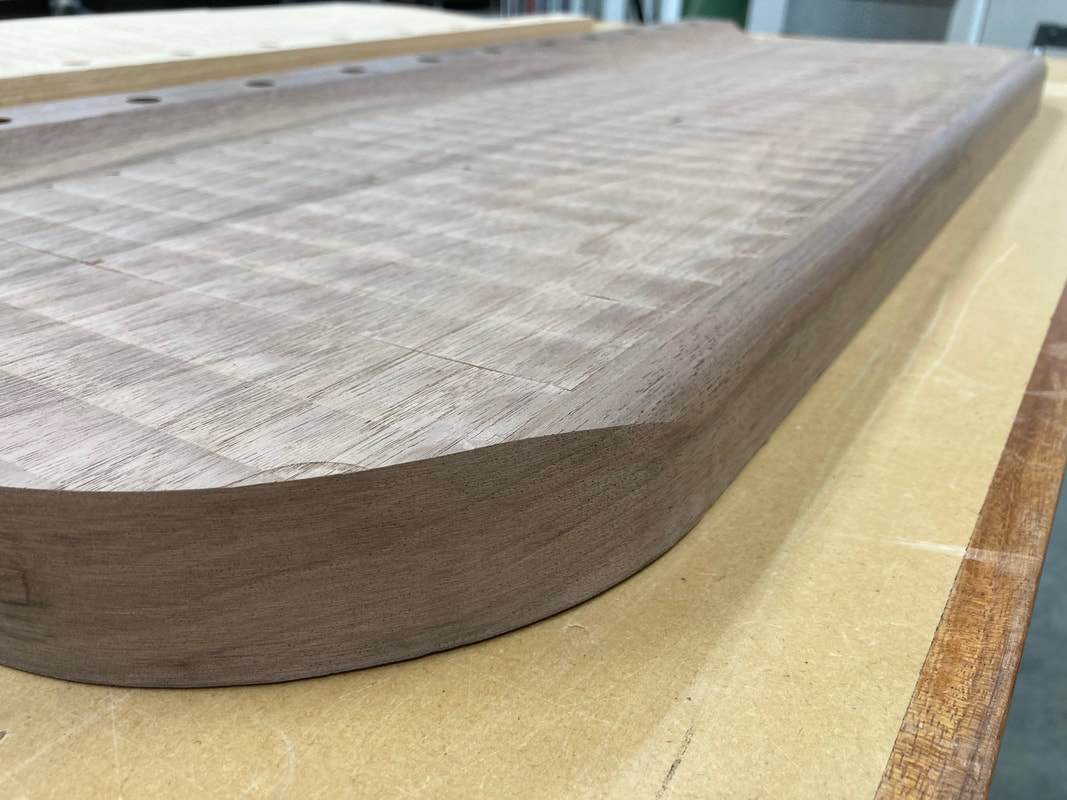 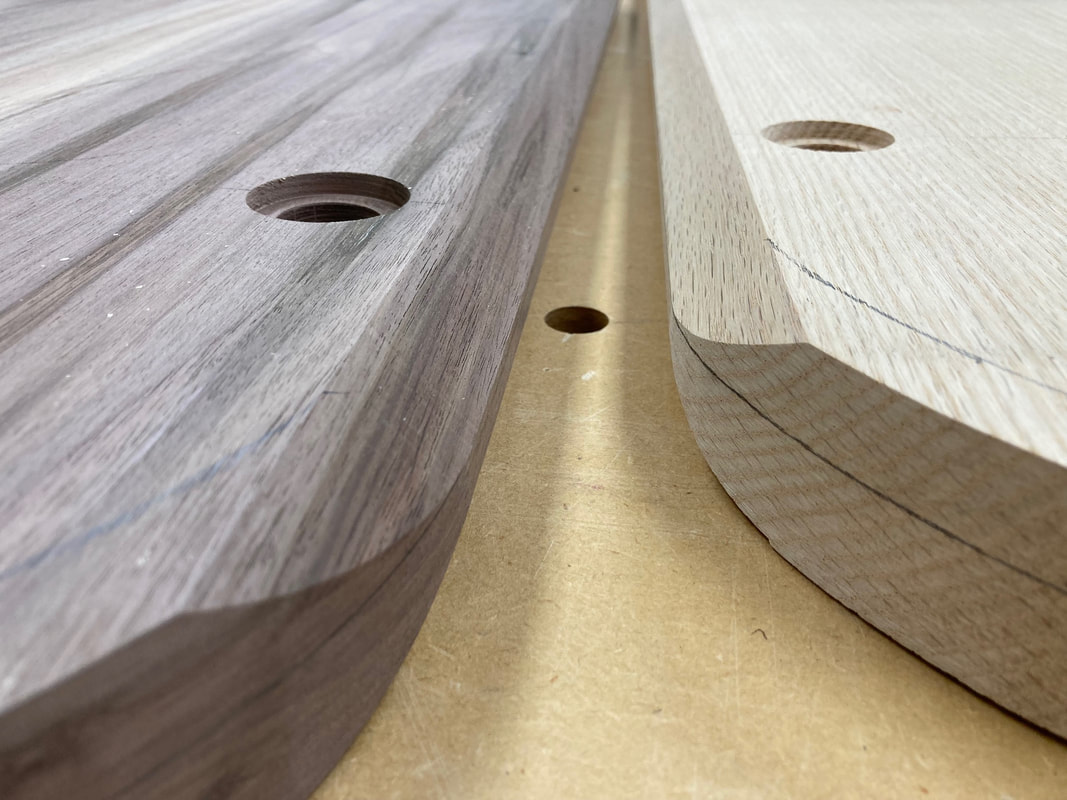 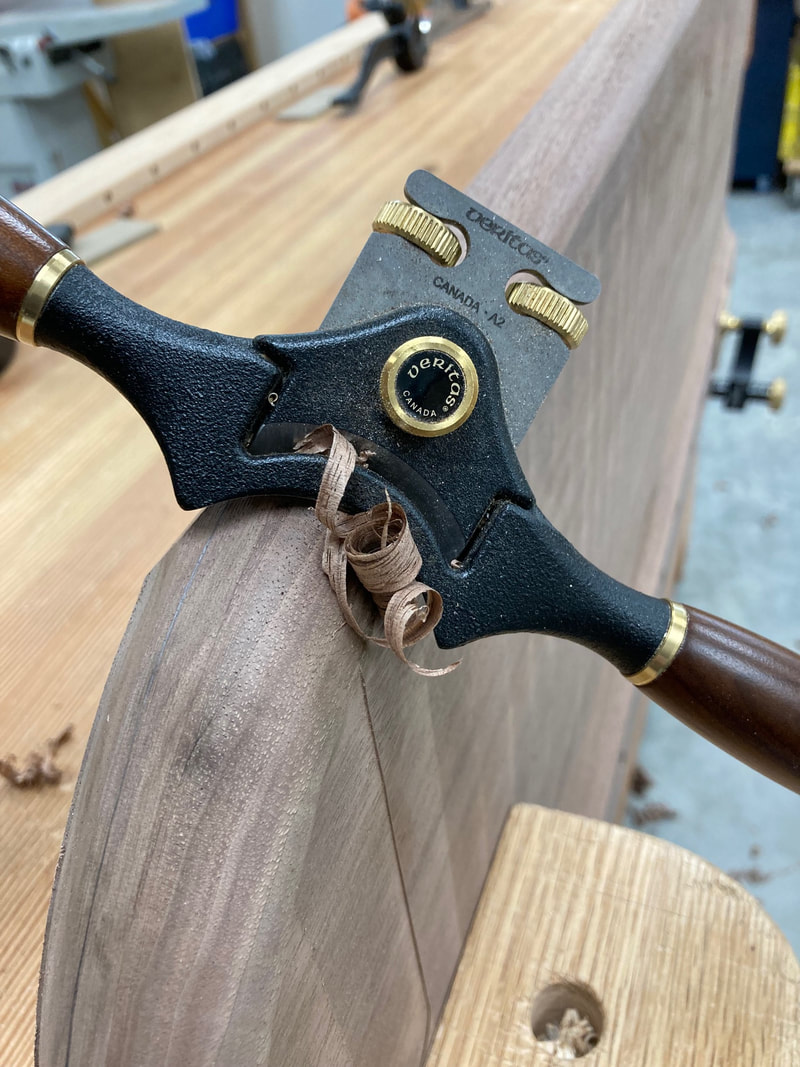 Hand tools to finish the shaping. 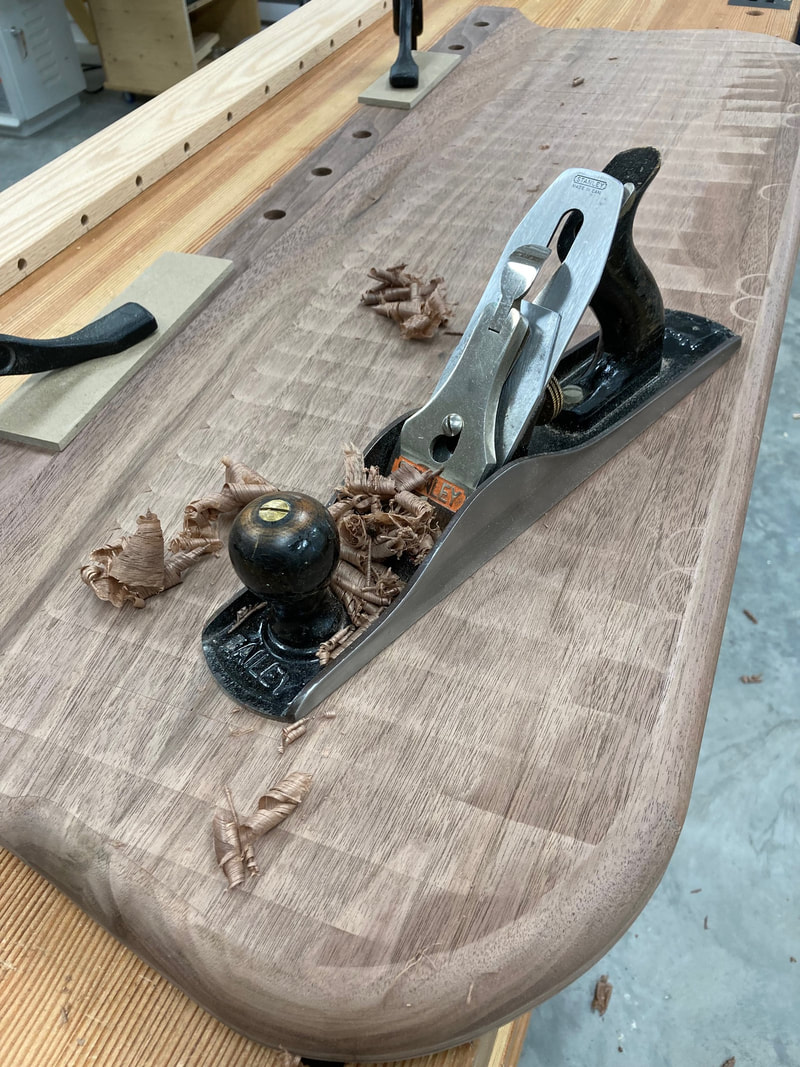 A Jack Plane (no.5) works great to smooth out the seat. 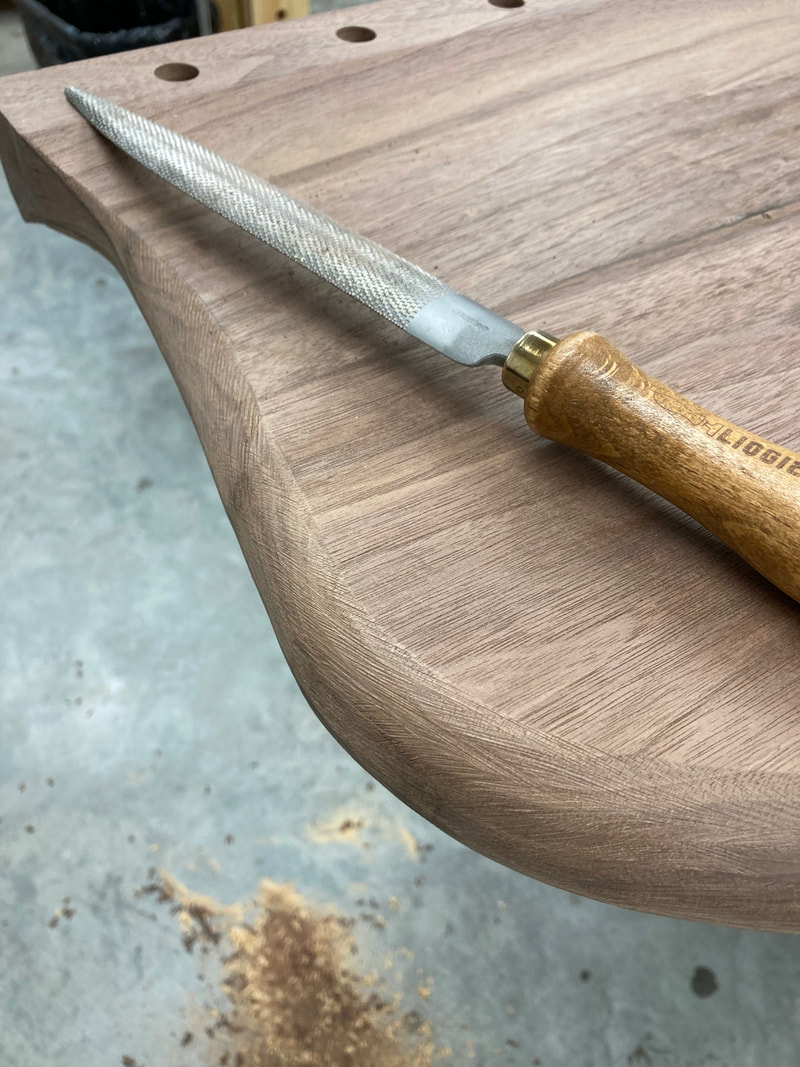 A rasp is the ideal tool to shape the ends of the seat. Part 5: Spindles, Legs, Stretchers and Assembly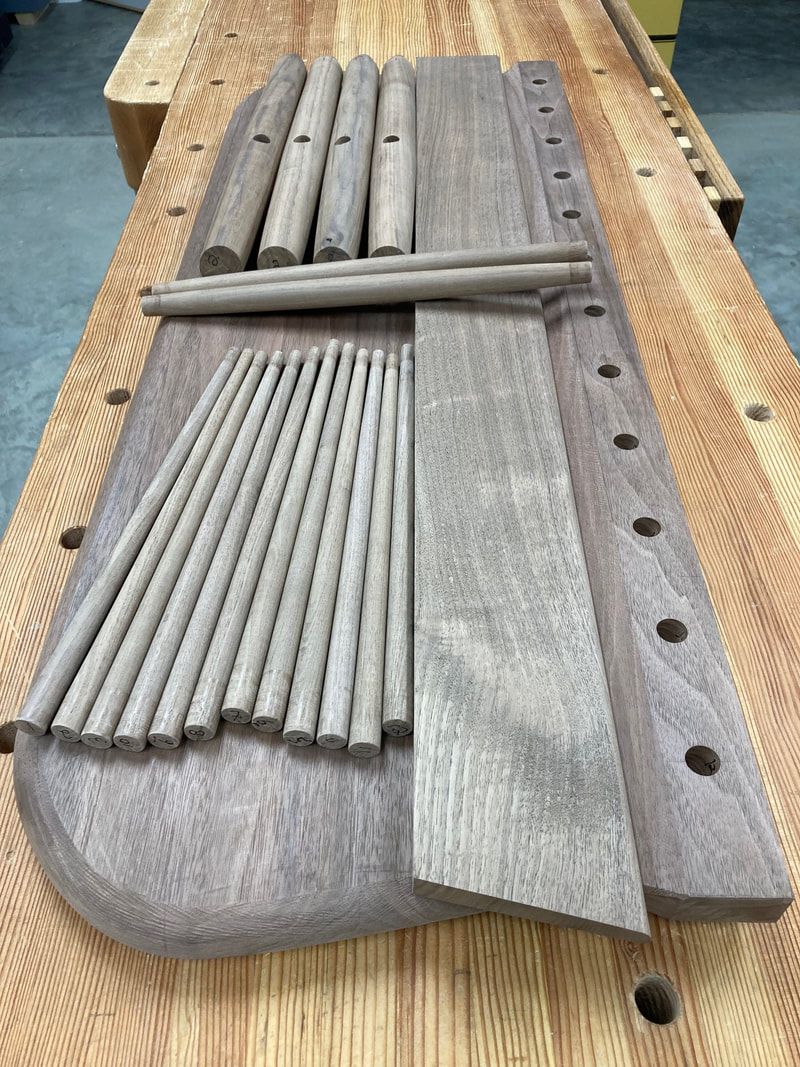 After all of the shaping of the seat is done, it is then time to move on to making the spindles, the legs and the stretchers. I start by making the 5/8" spindles from 3/4" square stock that I run through the Veritas Dowel Maker. From there I move to the lathe, where I turn the spindles into tapered sticks that go from 5/8" at their base to 3/8" at the tips. 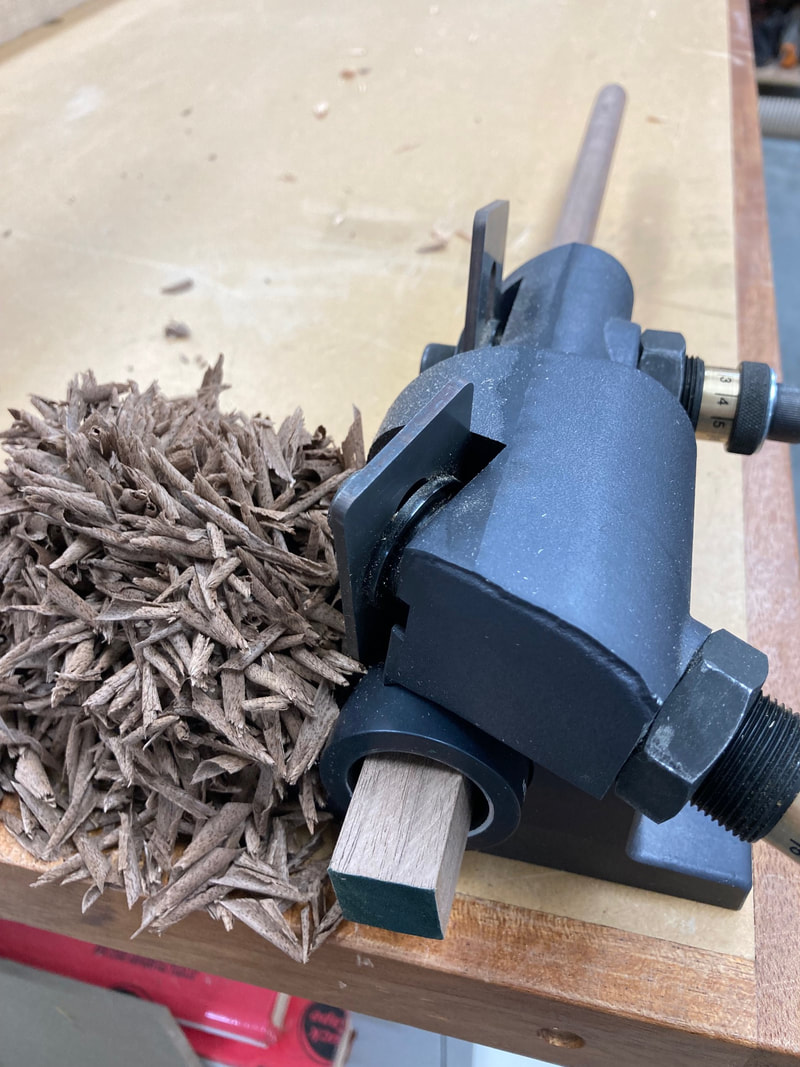 Veritas Dowel Maker 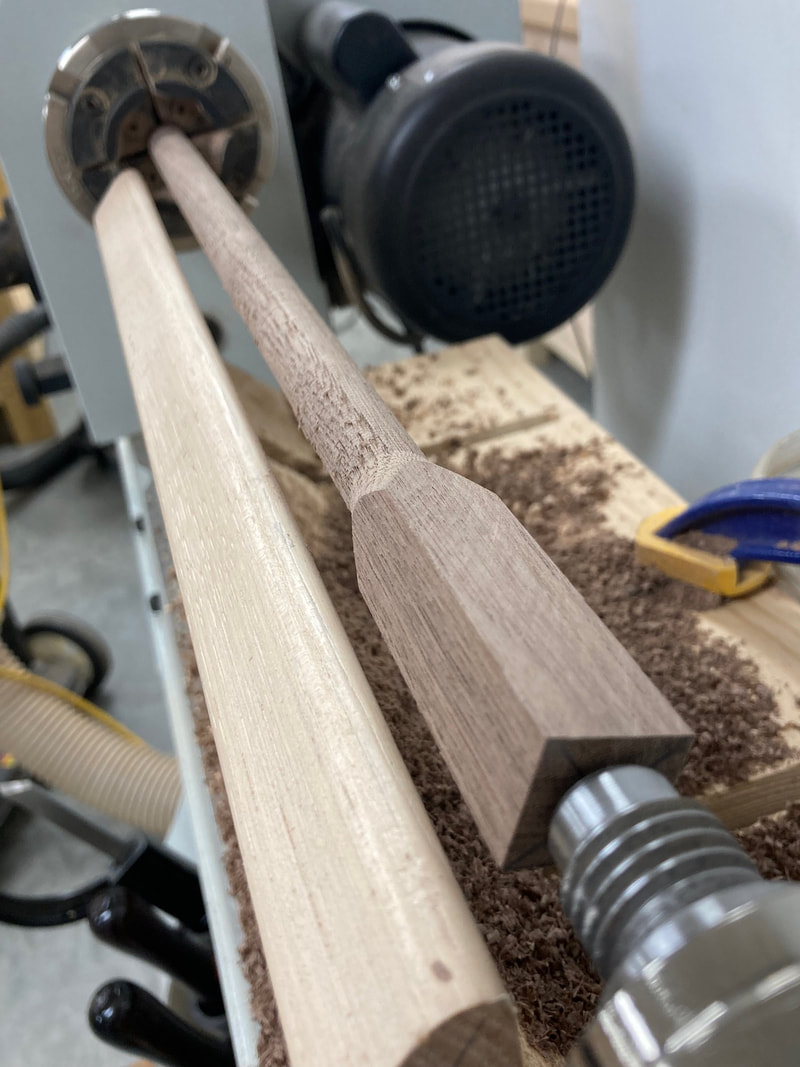 Spindles are tapered at the lathe 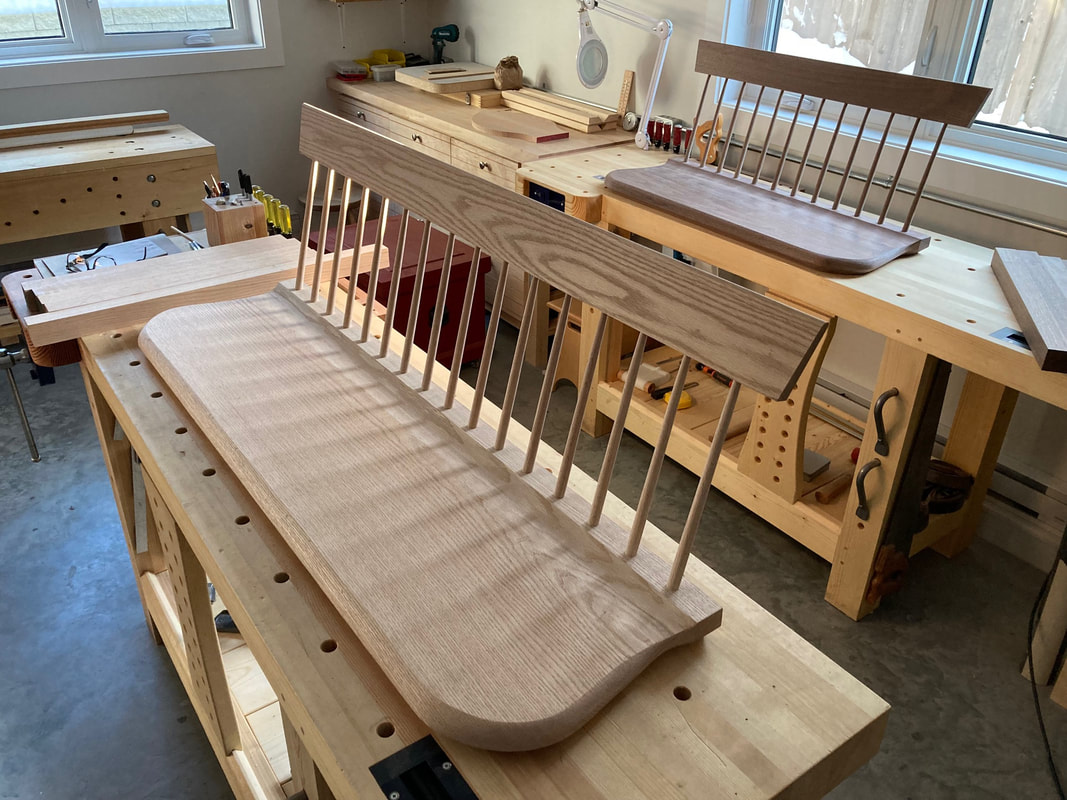 Spindles all done and dry-fitted Once all of the spindles are tapered and the tenons sized, I dry fit the backrest to make sure that everything fits and lines up correctly. I also make a few extra spindles just in case one breaks during this preliminary assembly. Next, I turn the legs on the lathe and I make sure that I size the tenon and the top of the leg that will rest in the stepped mortise very accurately to assure myself that I will have a very strong joint. With all the legs temporary fitted, I mark the location of the stretchers on the legs and use an elastic band to guide me in marking the exact location of the mortises. The elastic band will also help me line-up my drill to cut the mortise at the correct angle (see pictures below). 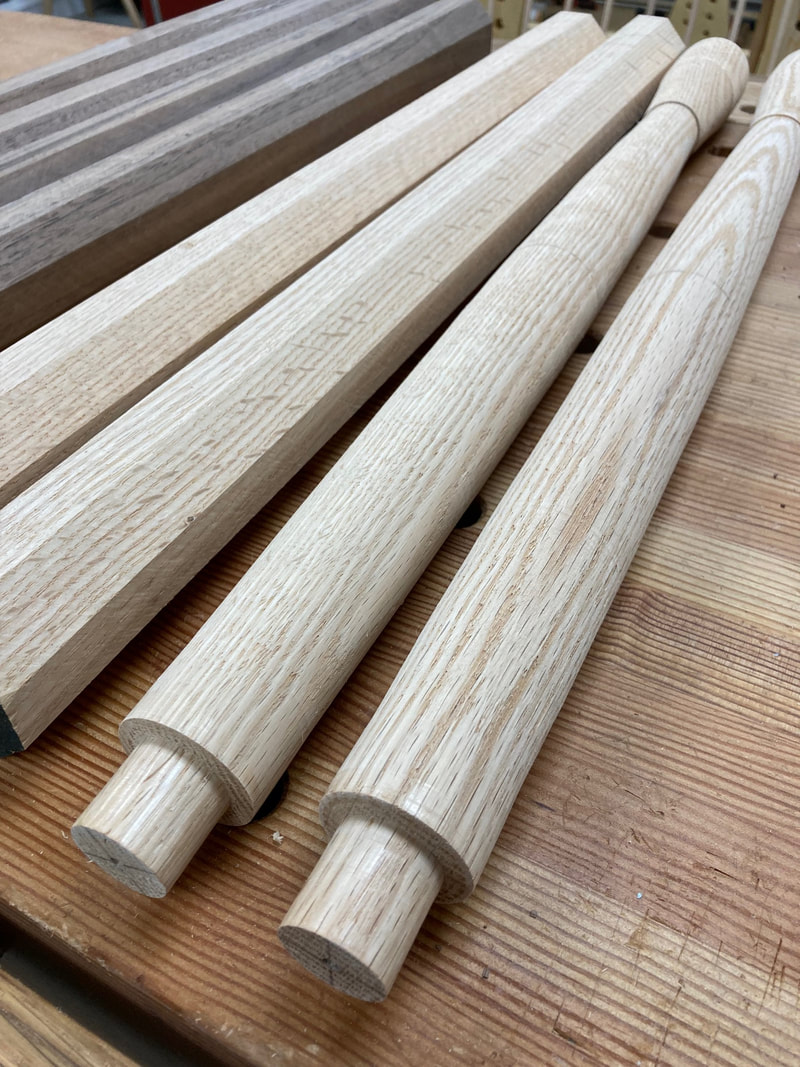 Leg tenons turned with great care to provide a tight and strong joint. 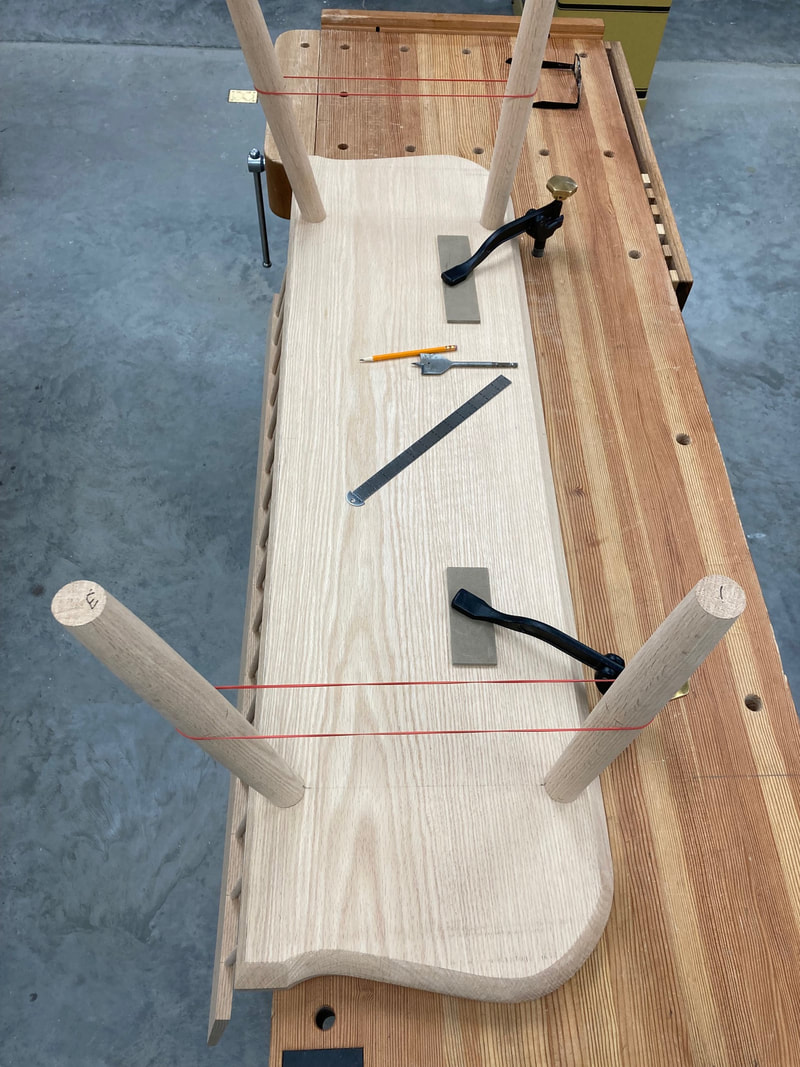 Elastic bands as guides to mark the location of the stretchers. 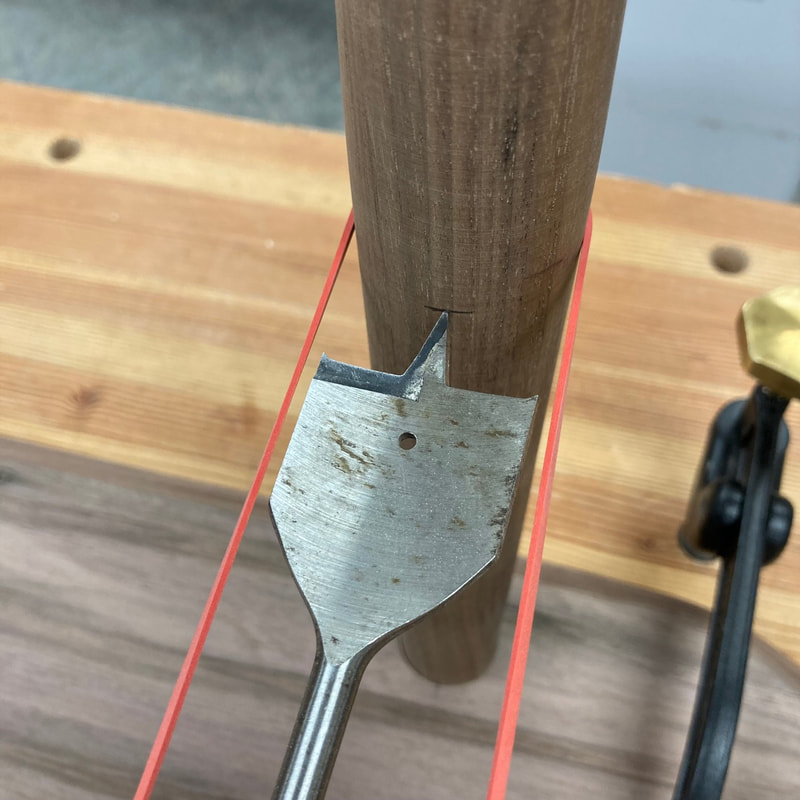 Marking the location of the stretcher's mortice on the centre of the leg using the elastic as a guide. 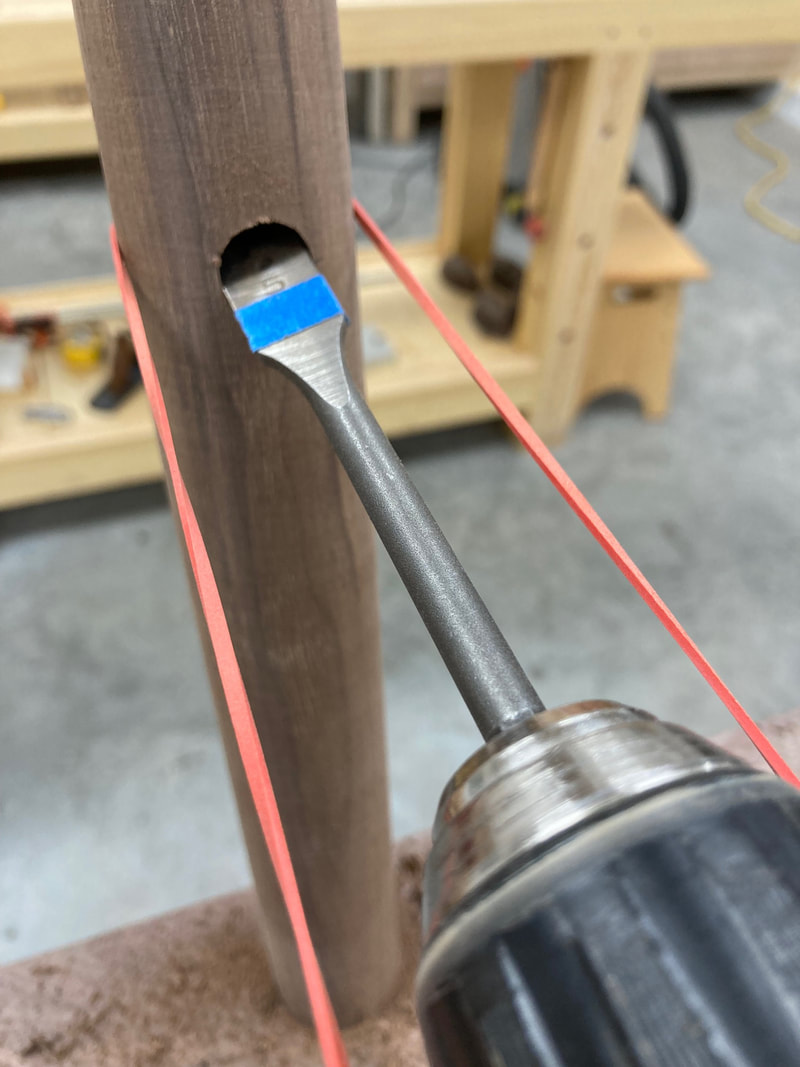 Drilling the stretcher's mortise at the correct angle using the elastic band as a guide. 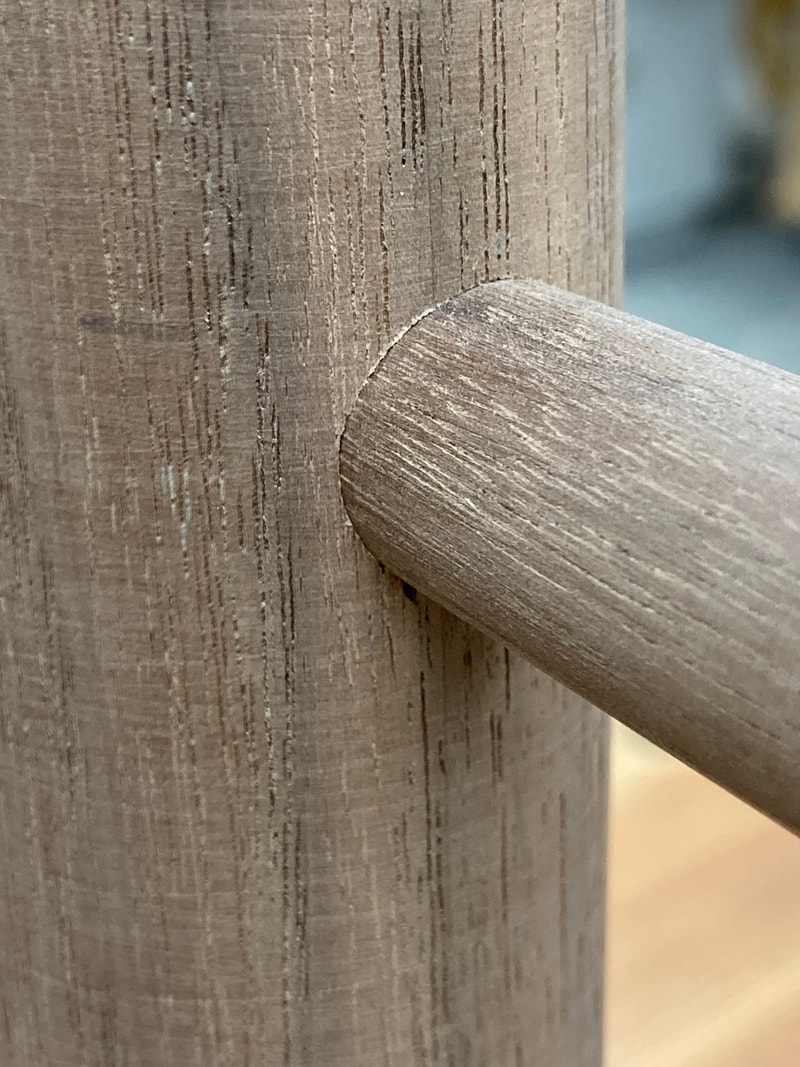 Stretcher to leg joint. Good fit. Finally after dry fitting everything one last time and doing a final sanding of all of the parts, it is time to pull out the glue bottle and proceed to the final assembly. I take the time to organize my assembly area and have everything I need close by and in sight. After a mental rehearsal of the glue-up, I begin. The first step is to glue all of the spindles into the seat. This is the easy part. Most of them go in the mortises easily with hand pressure, but the odd one will resist a bit, so I have a hammer ready to pound those in home. Next comes the tricky part of gluing the backrest to the spindles. On short benches it is not too bad of a deal, but on longer ones, you have to hurry and get all of the tenons coated with glue in a timely manner so you do not end up with the first one you did already dry by the time you are coating the last one. I start at one end, and one by one insert the spindles tenons into the backrest's mortises constantly tapping on the top of the backrest as in feed in the spindles. A few hits with the dead blow mallet and I check that the backrest is seated properly according to the pieces of tape I put as depth guides on each one of the ends spindles. A final check with the tape measure, and the backrest and spindles are done. 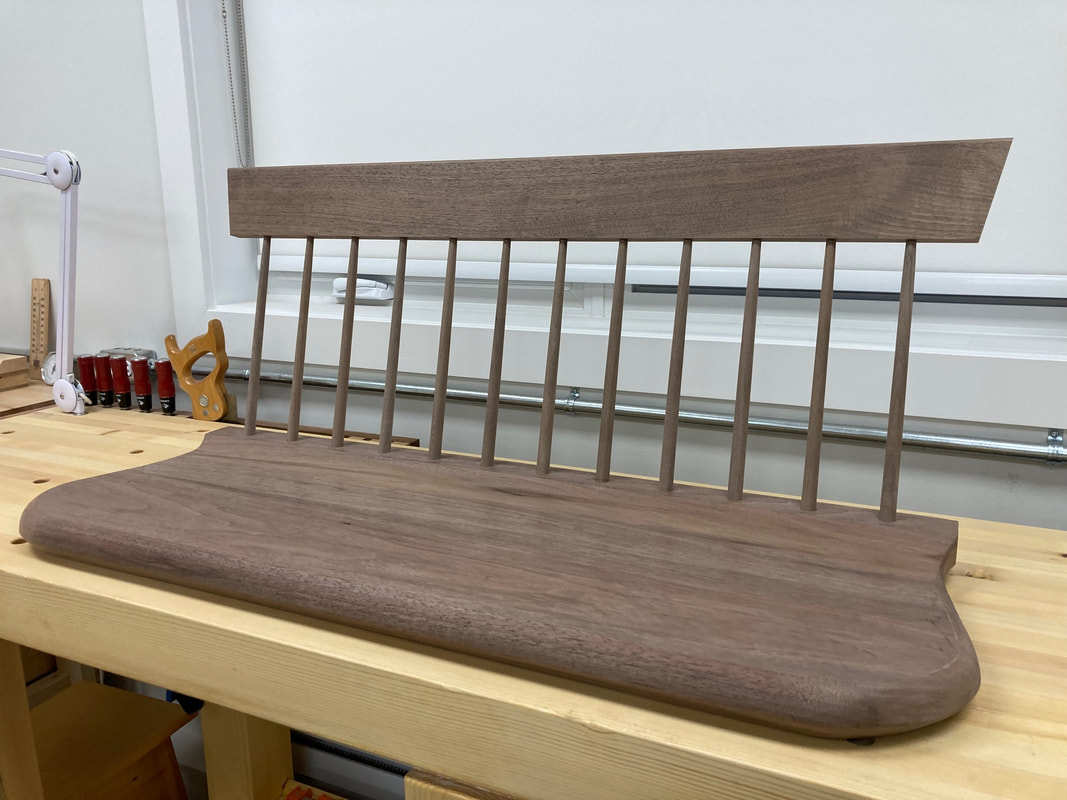 Spindles and backrest glued to the seat To complete the assembly, I turn over the bench and proceed with gluing the legs and stretchers components to the seat. Pretty straight forward process; add glue to all of the mating surfaces and put it all together using a dead blow mallet and one clamp to help seat the stretchers into the legs mortises. No need to leave any clamps on, once the parts are in where they should be, leave everything to dry for a few hours before moving the bench around. 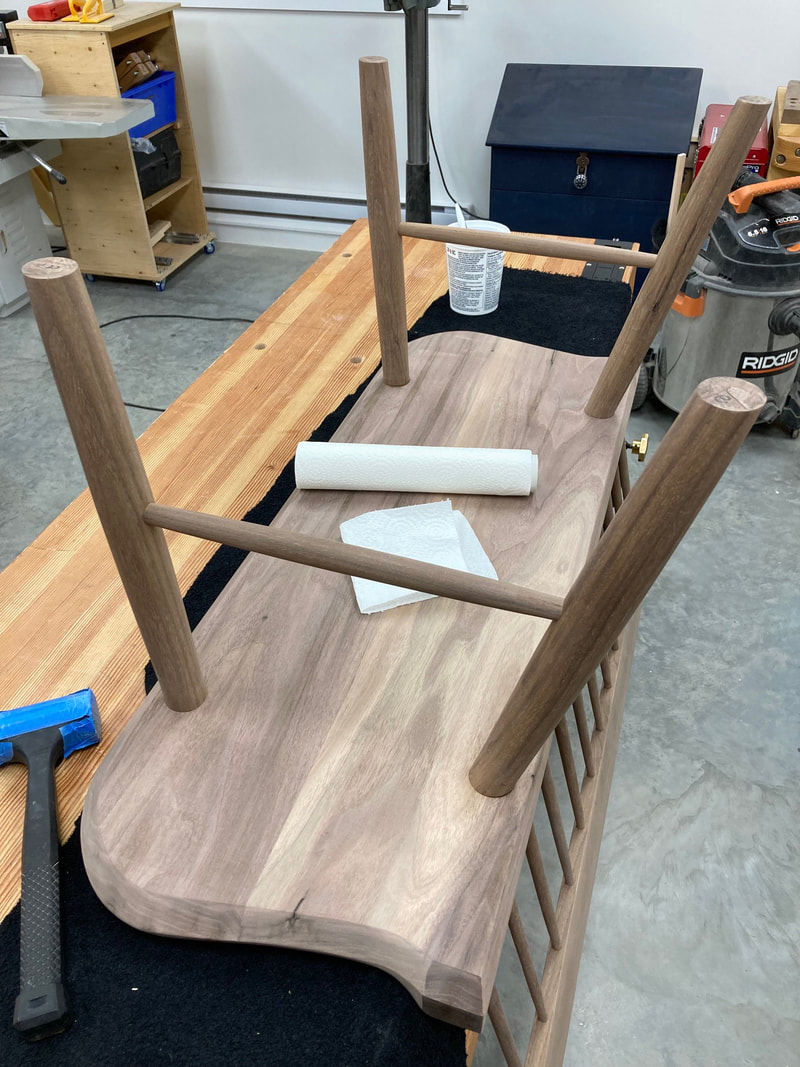 Legs and stretchers glued to the seat 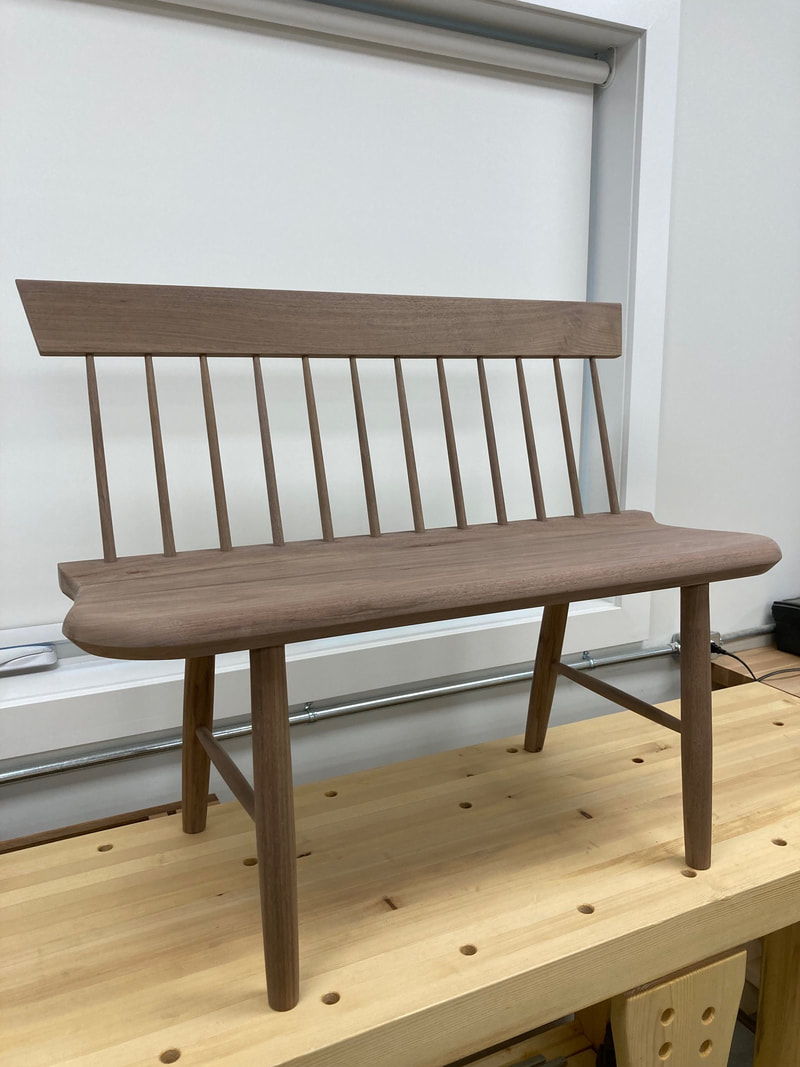 The final product minus the oil finish The next day I trim the legs so the seat is level and has the wanted back tilt which is very little on this design since the slope carved out of the seat acts as the desired angle for seating comfort. For the finish, this particular bench will get two to three coats of pure Tung oil. And there it is, with that the Shaker Settee is complete.
Pascal Teste
0 Comments
Your comment will be posted after it is approved.
Leave a Reply. |
AuthorPascal Teste Archives
March 2023
Categories
|
 RSS Feed
Copyright 2023 © Pascal Teste Furniture l site design & powered by Egami Creative