|
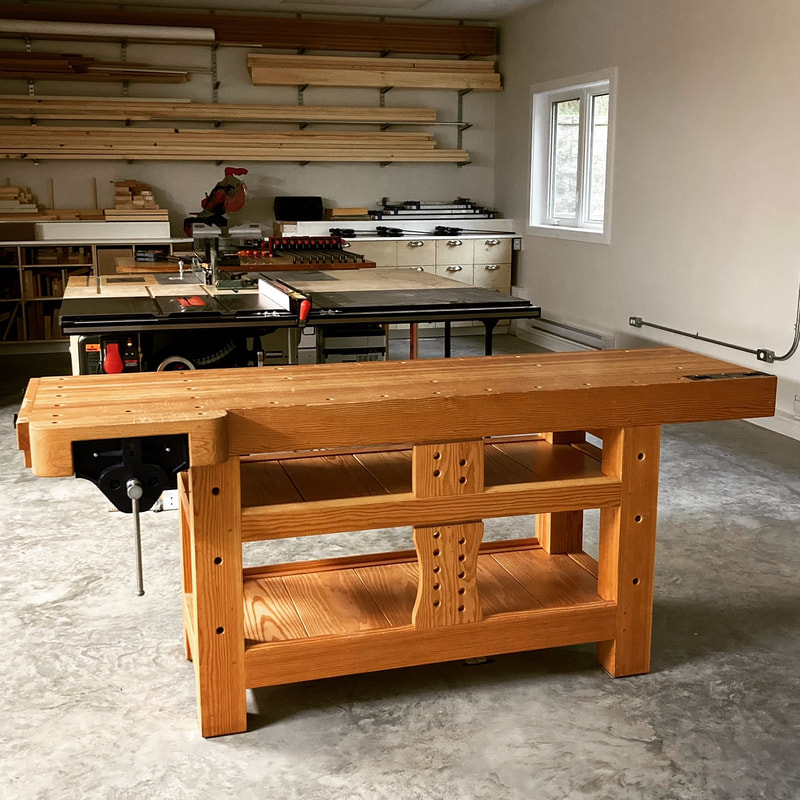
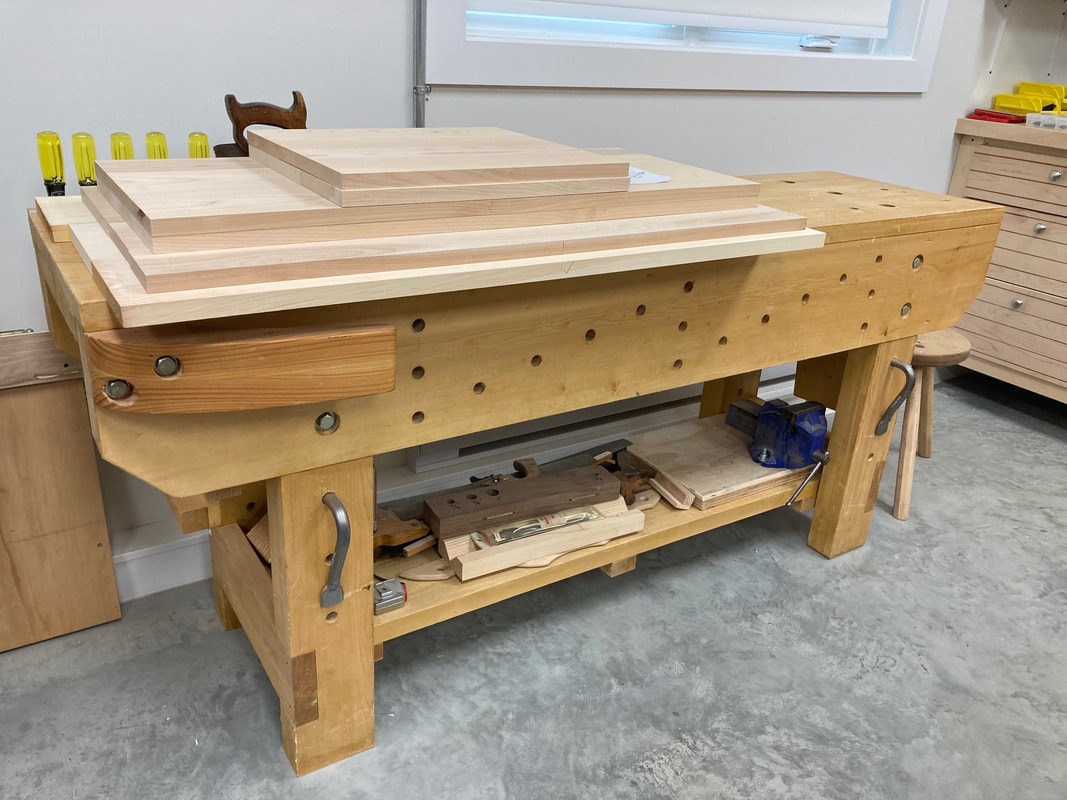
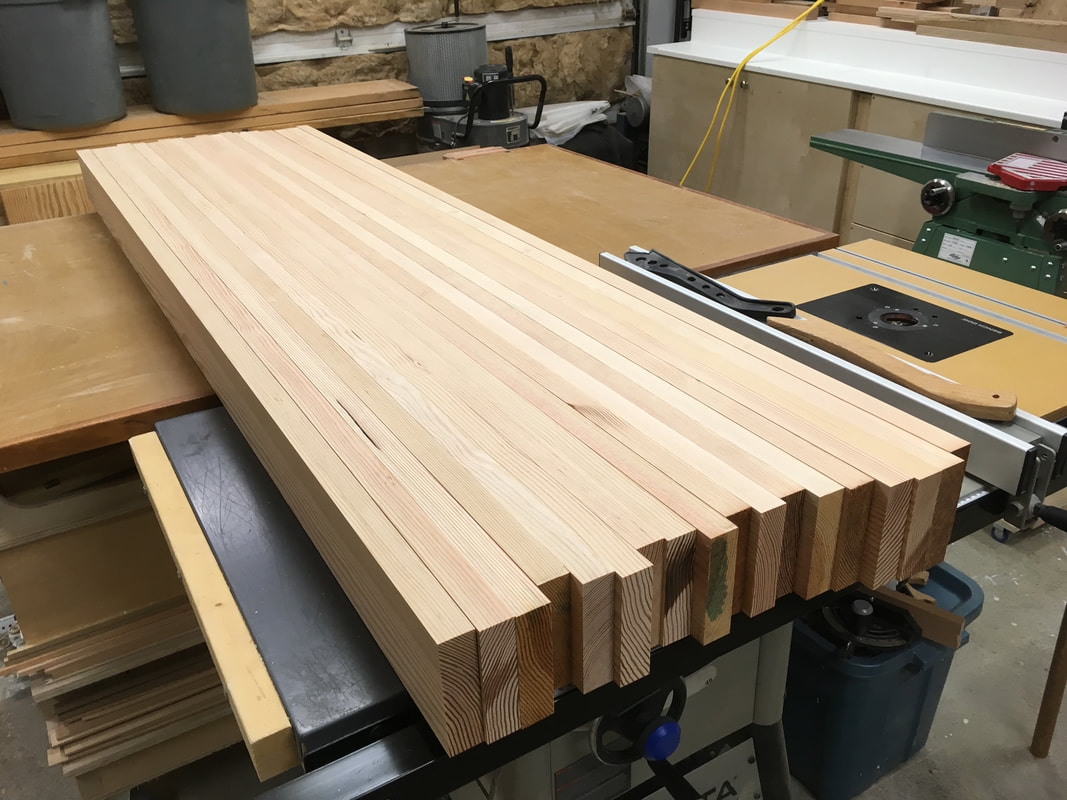
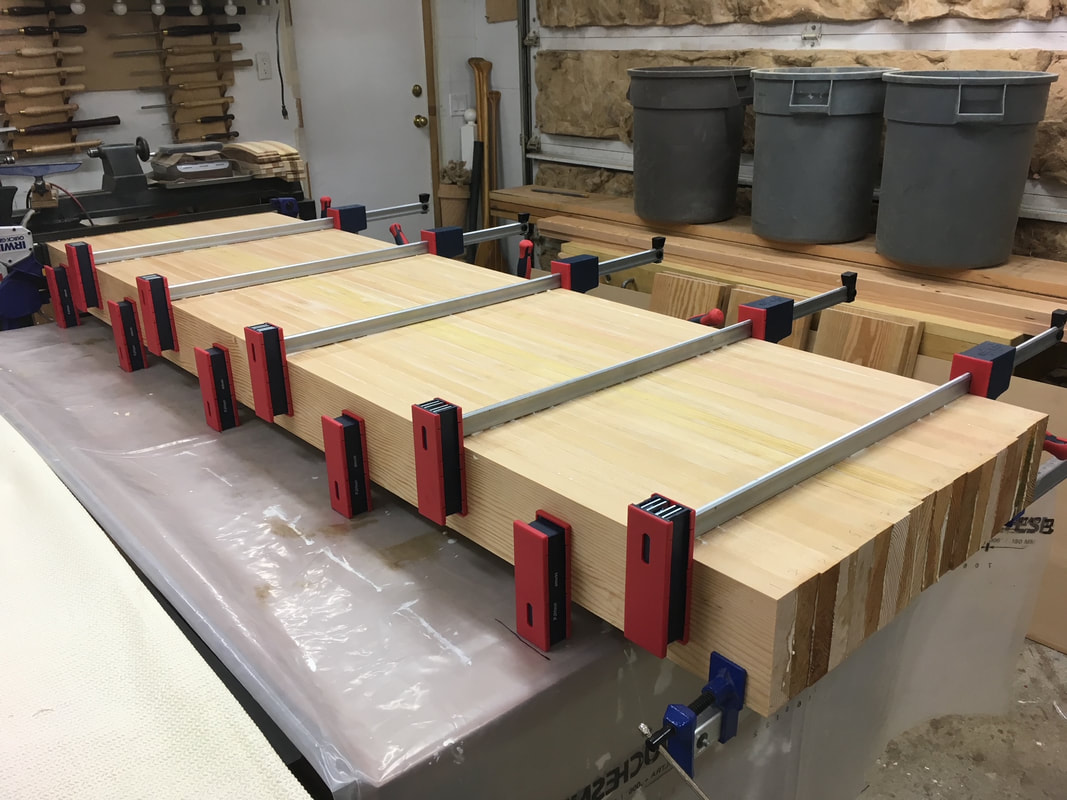
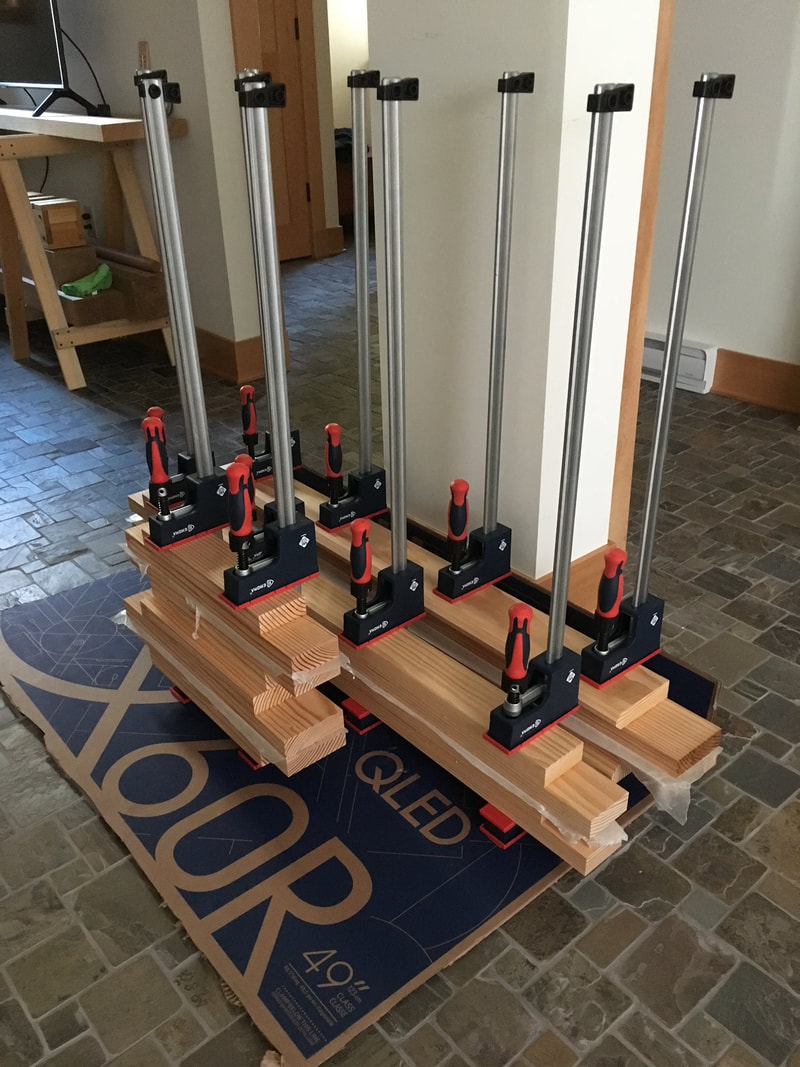
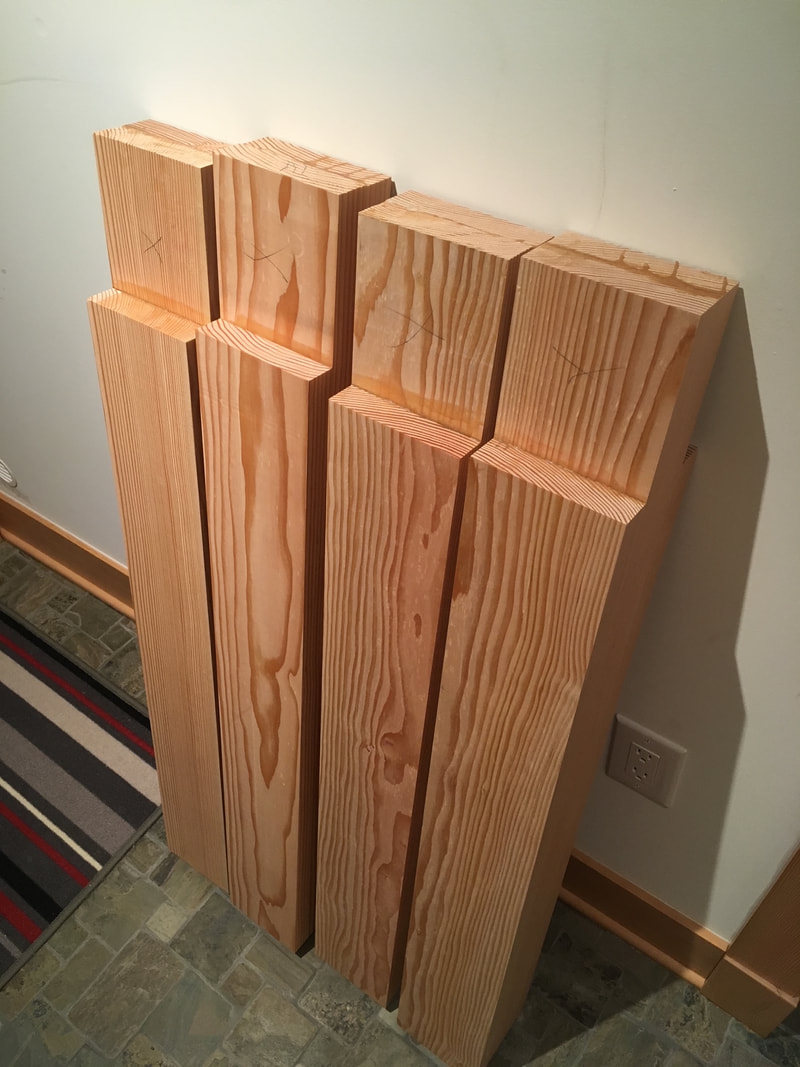
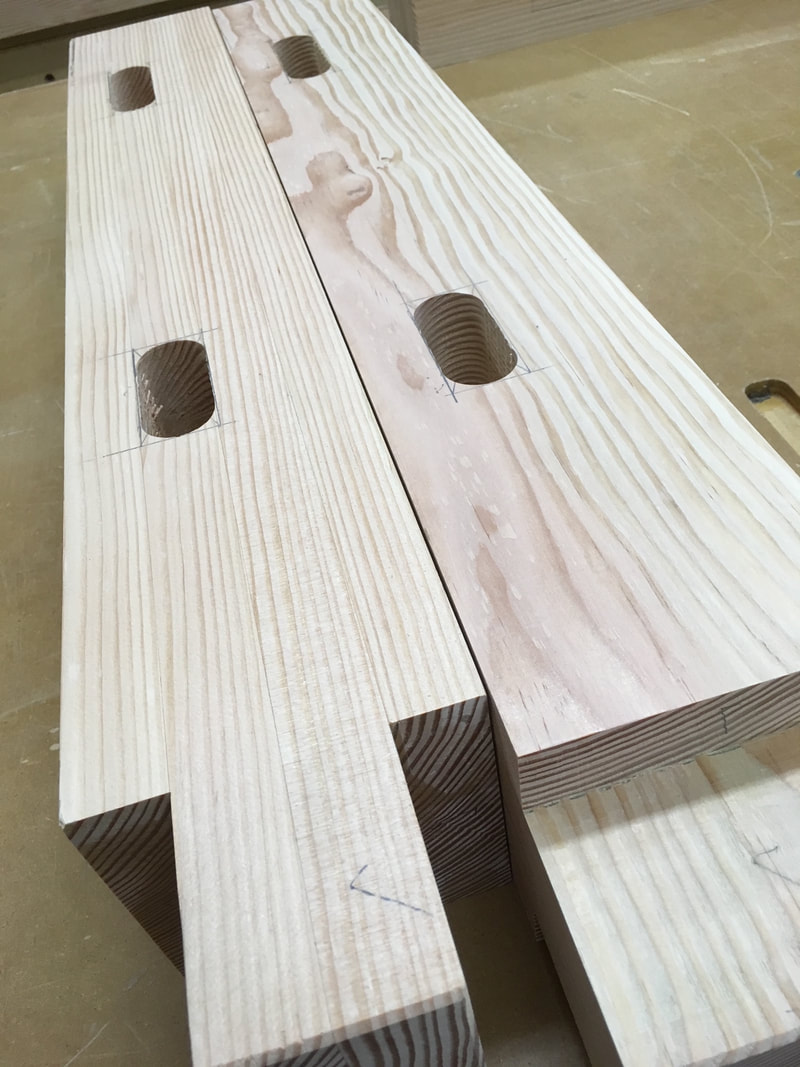
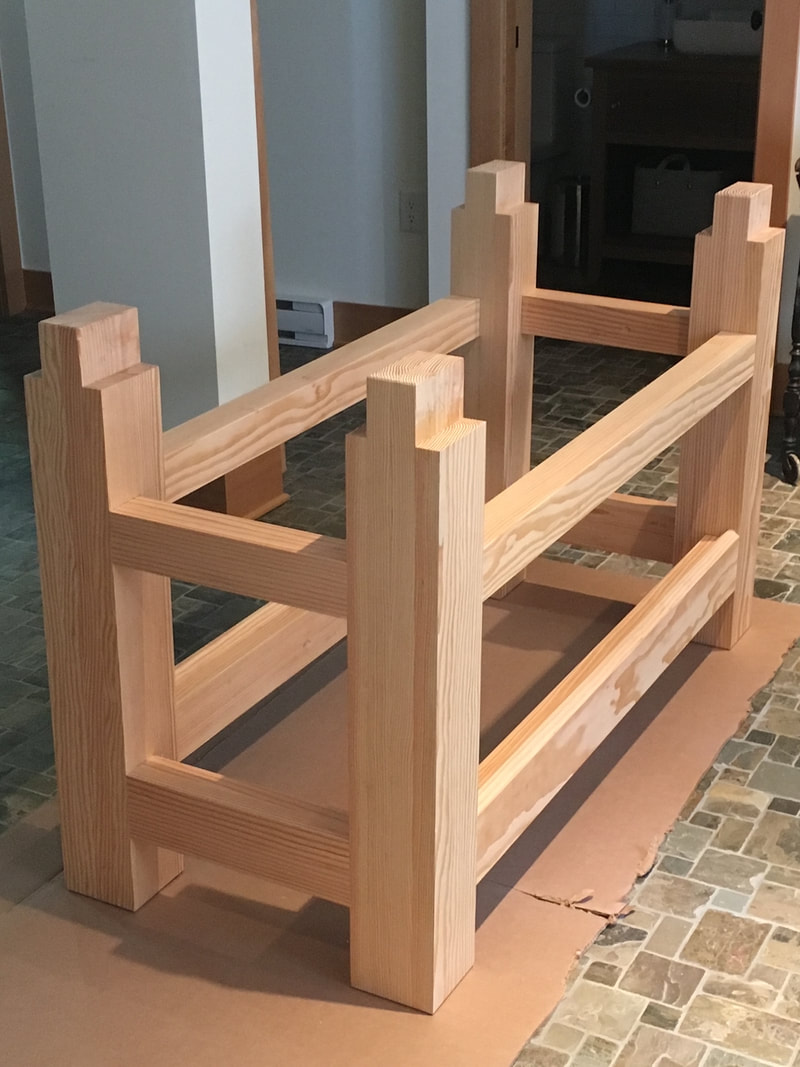
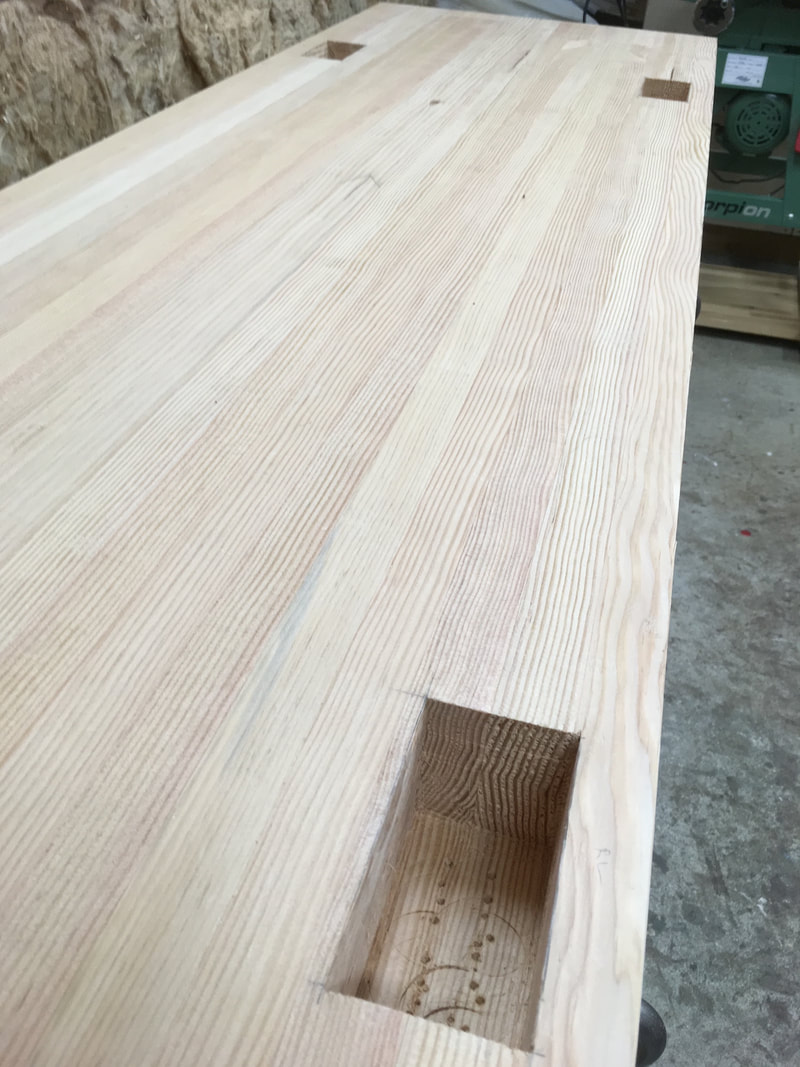
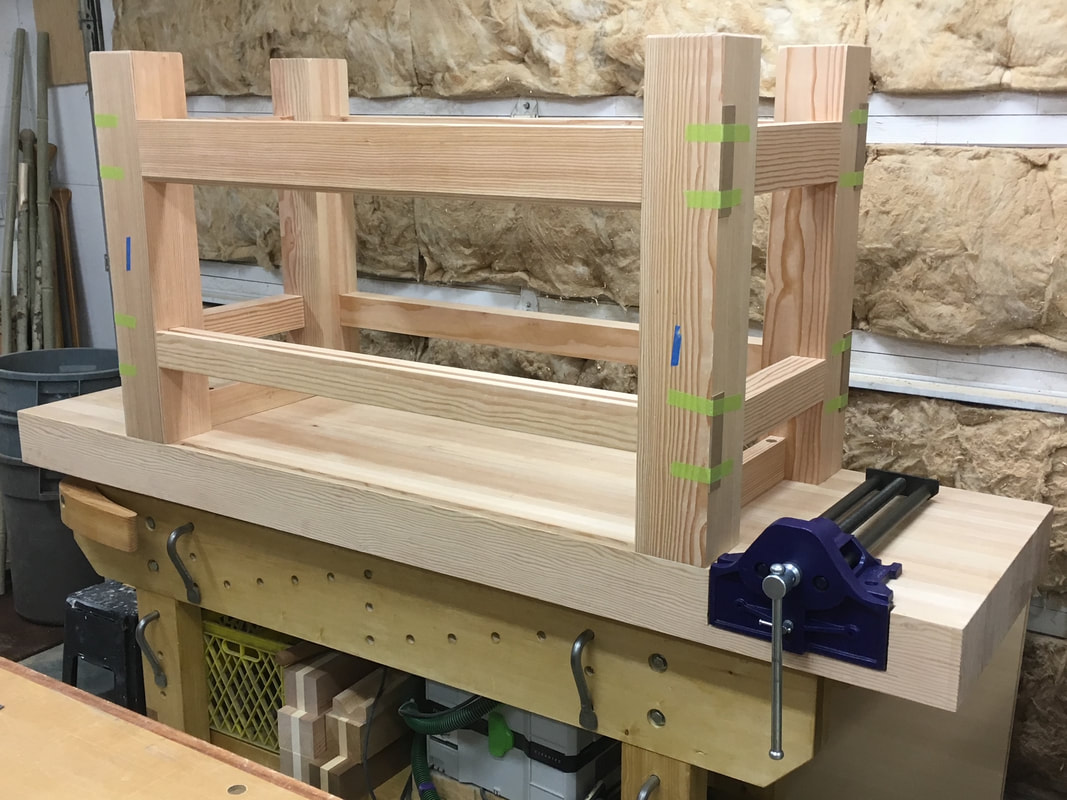
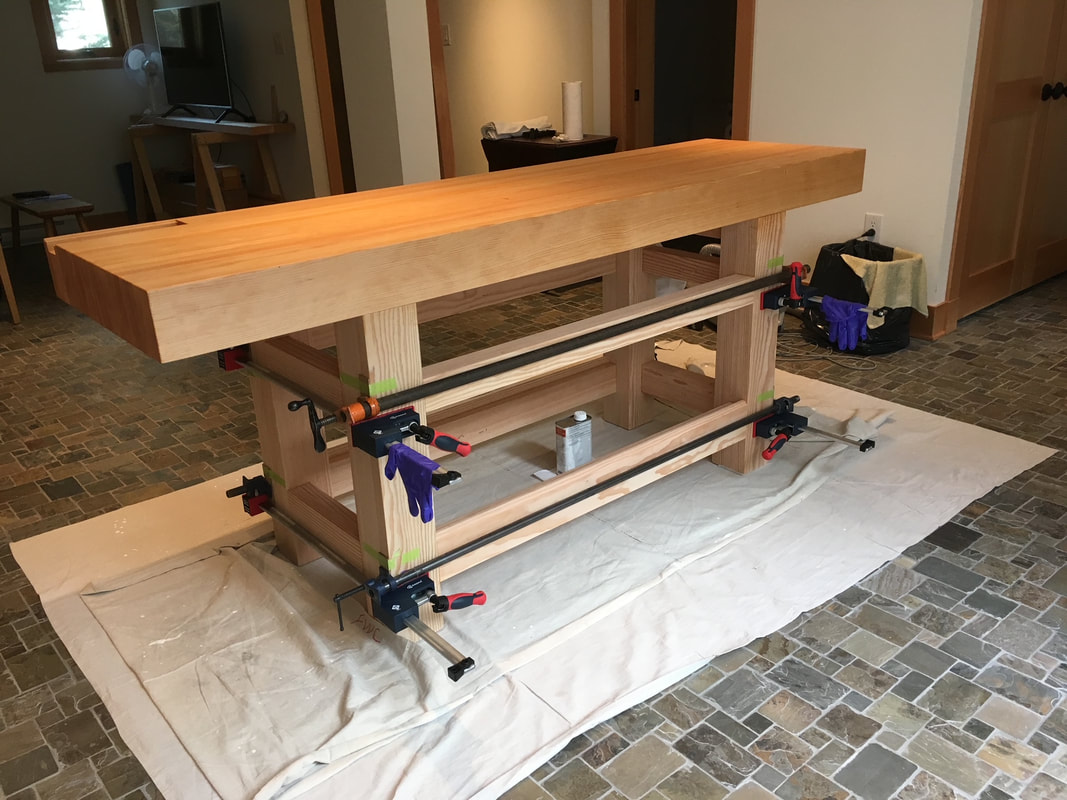
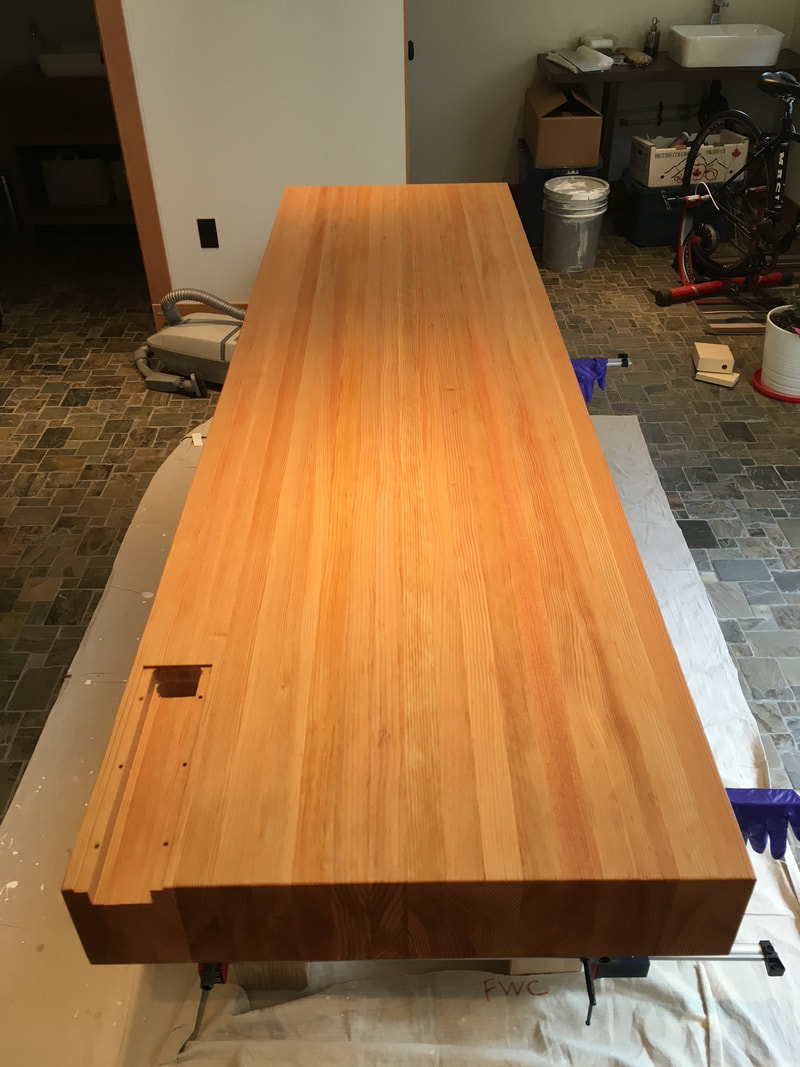
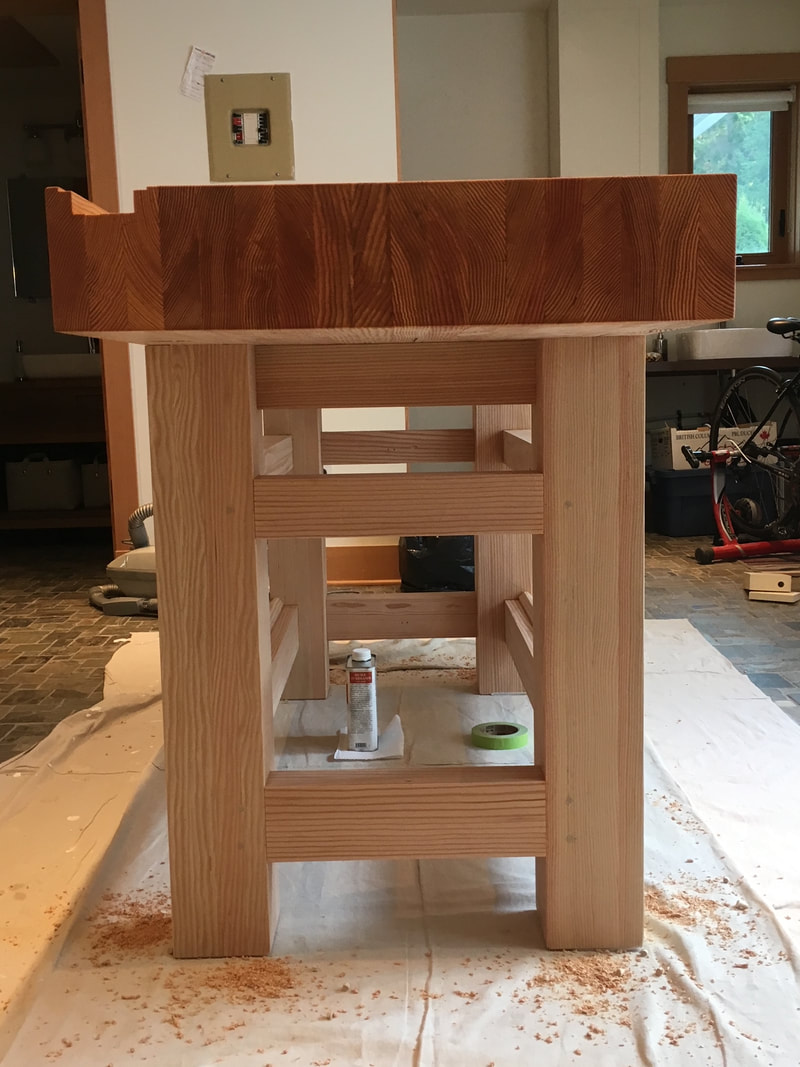
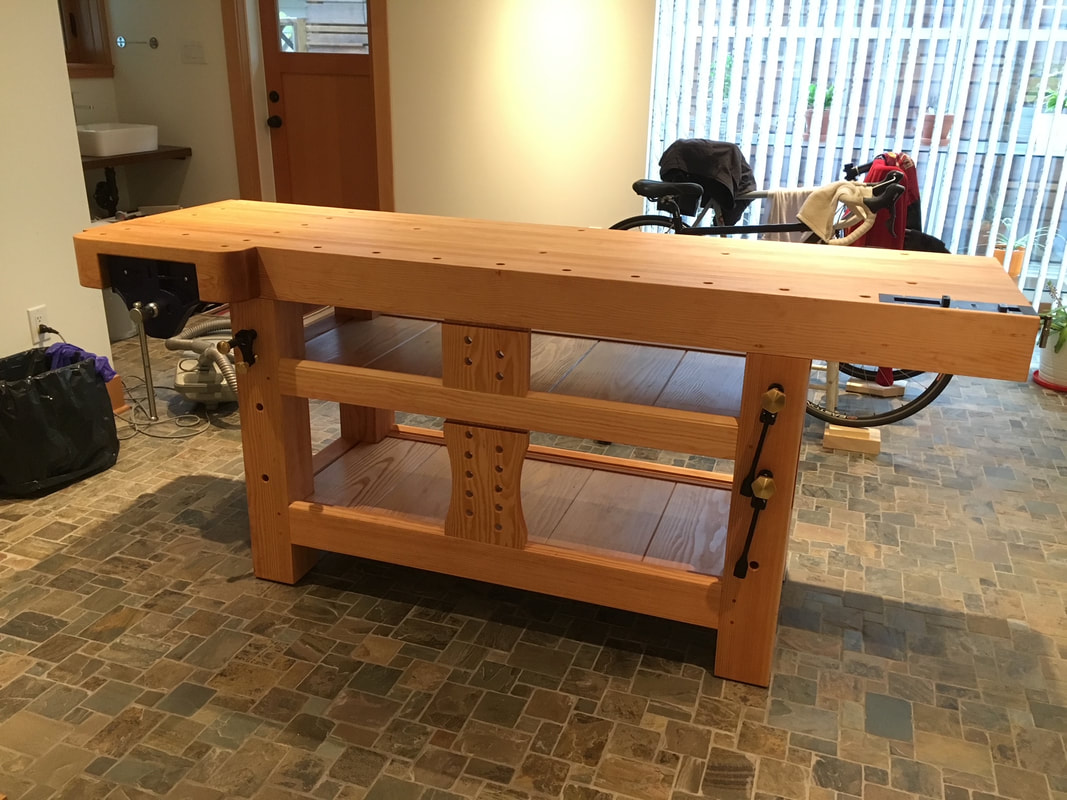
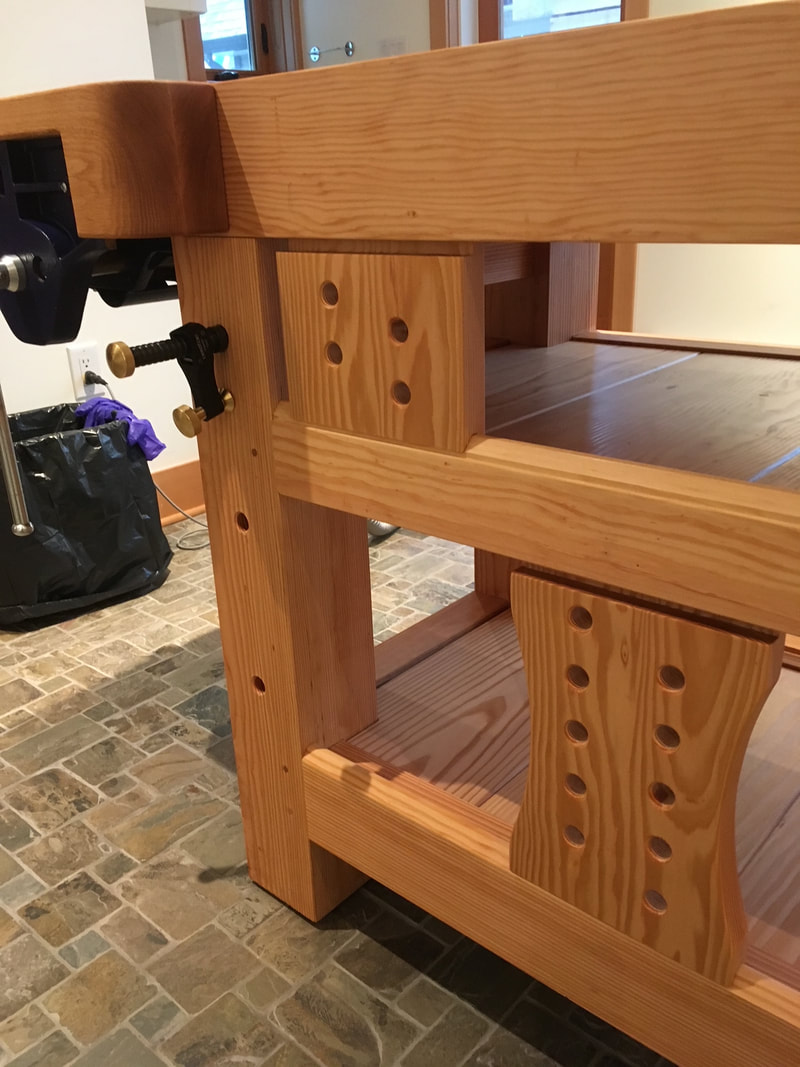
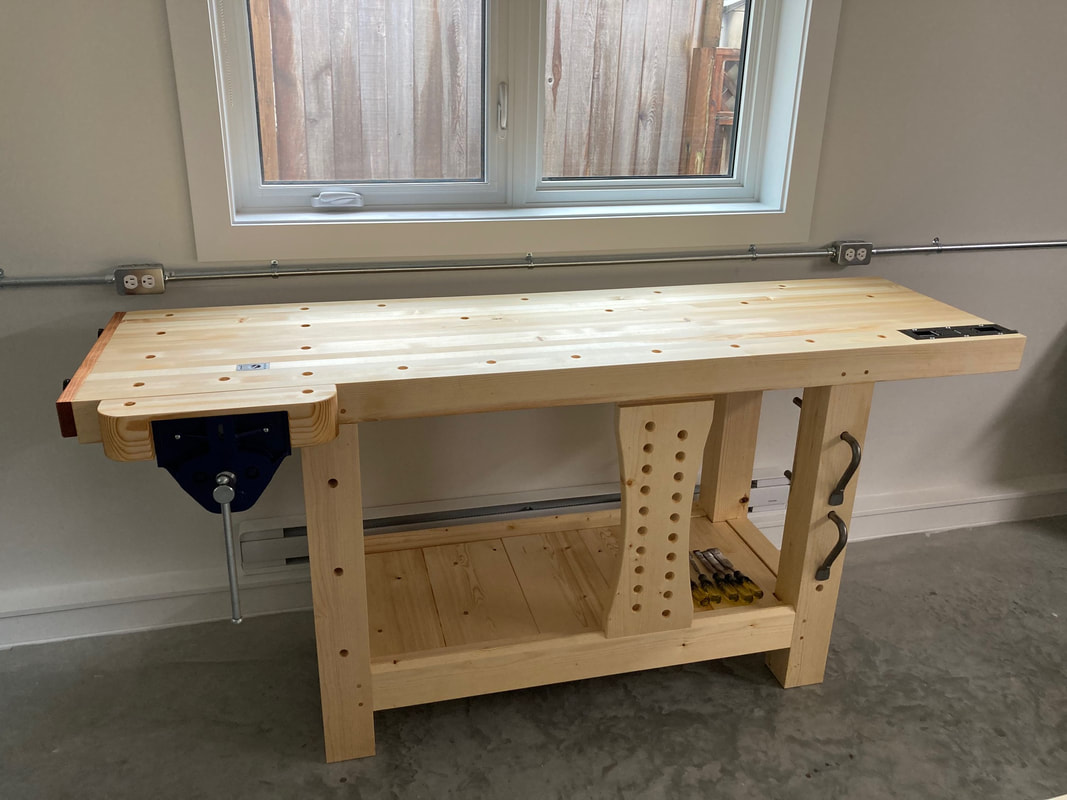
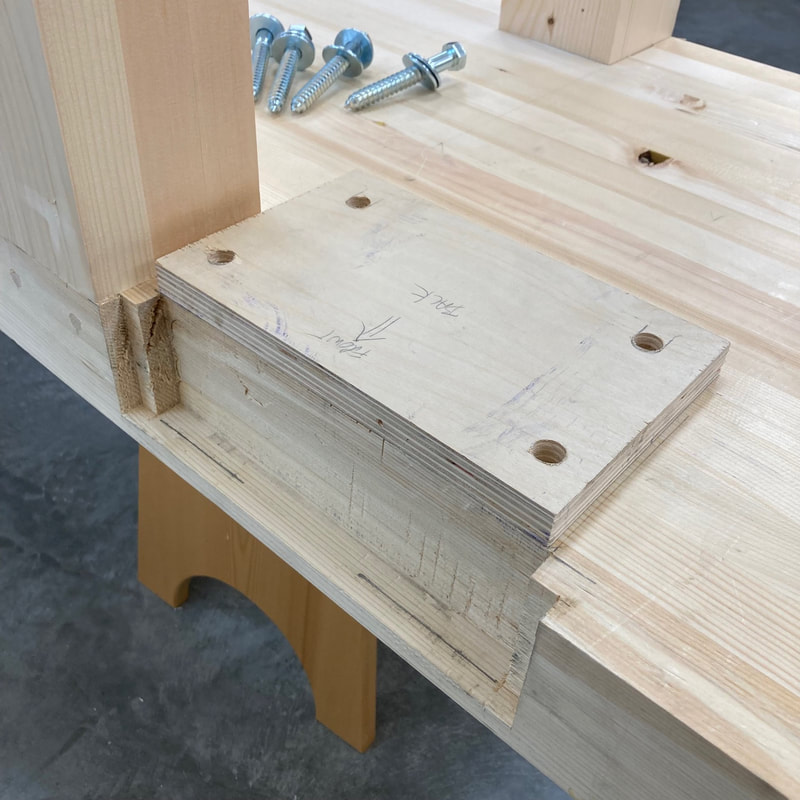
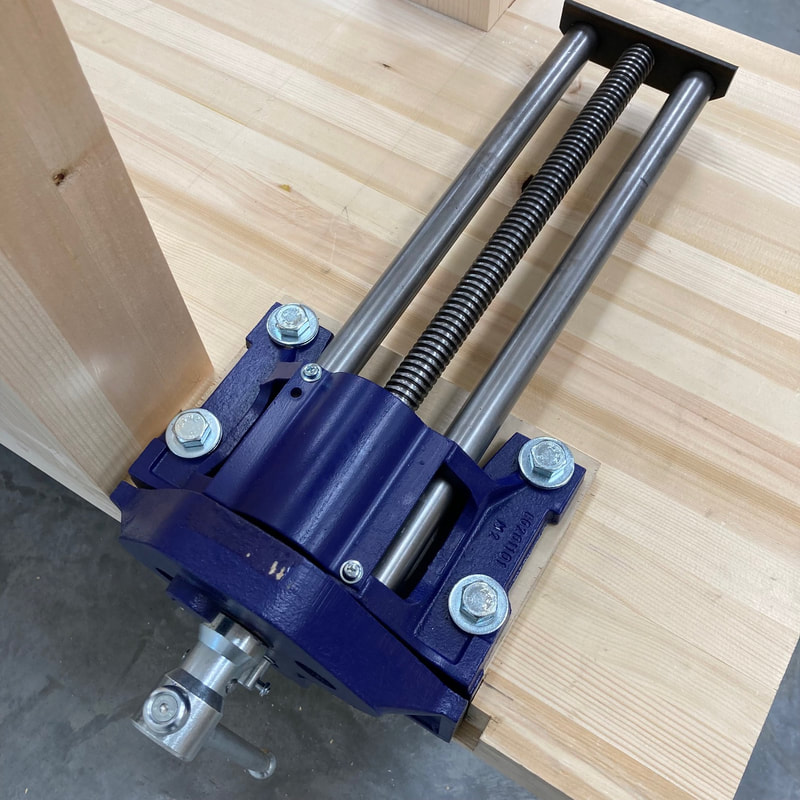
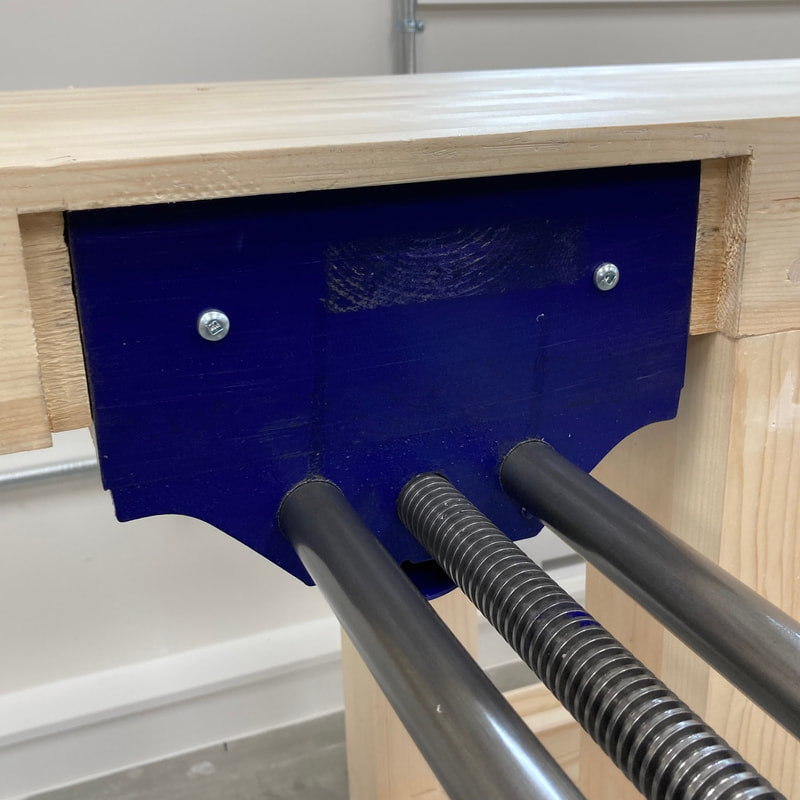
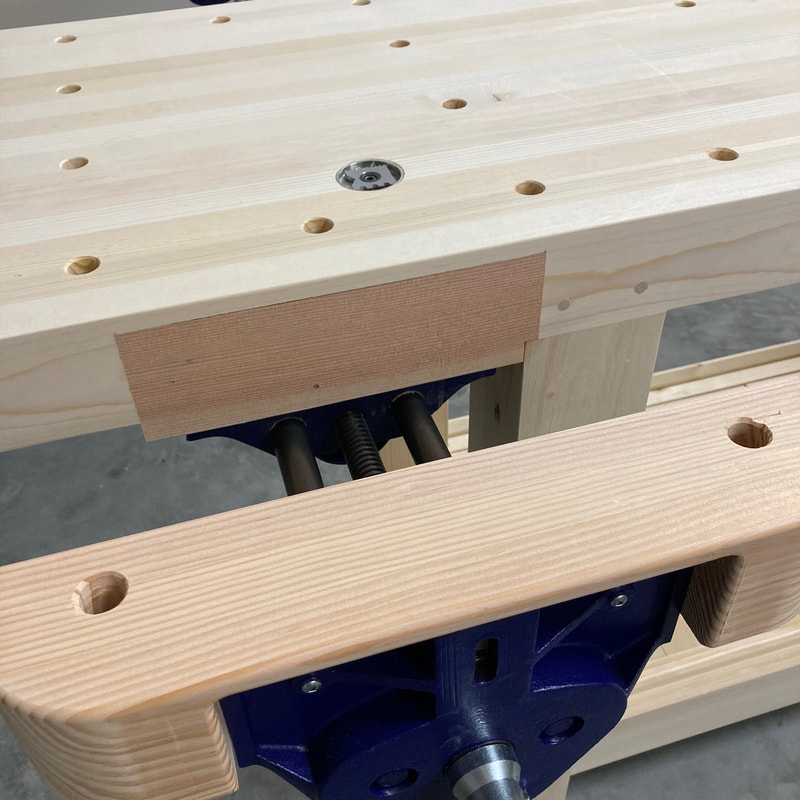
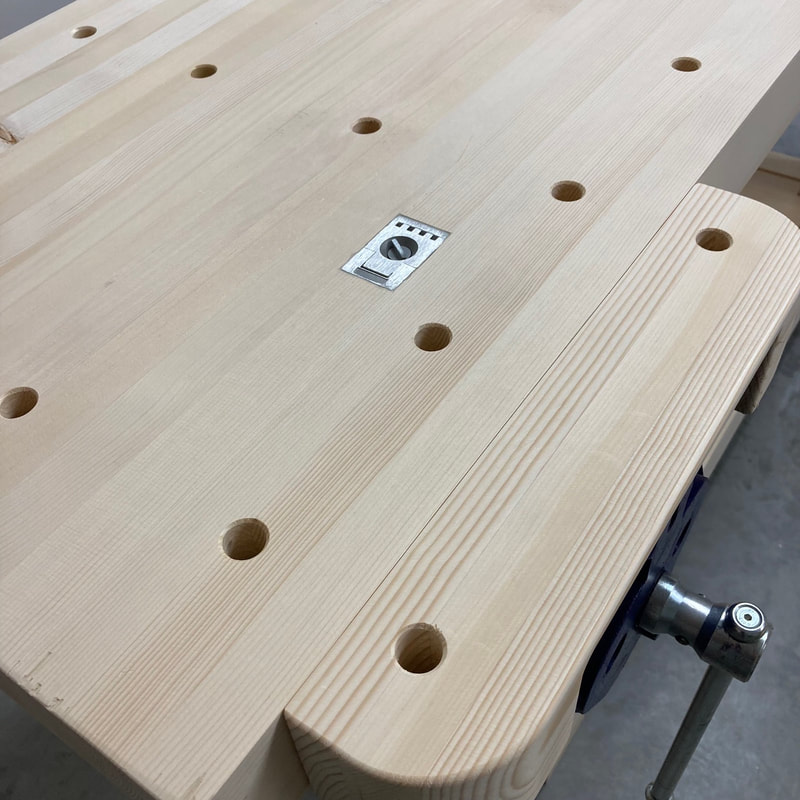
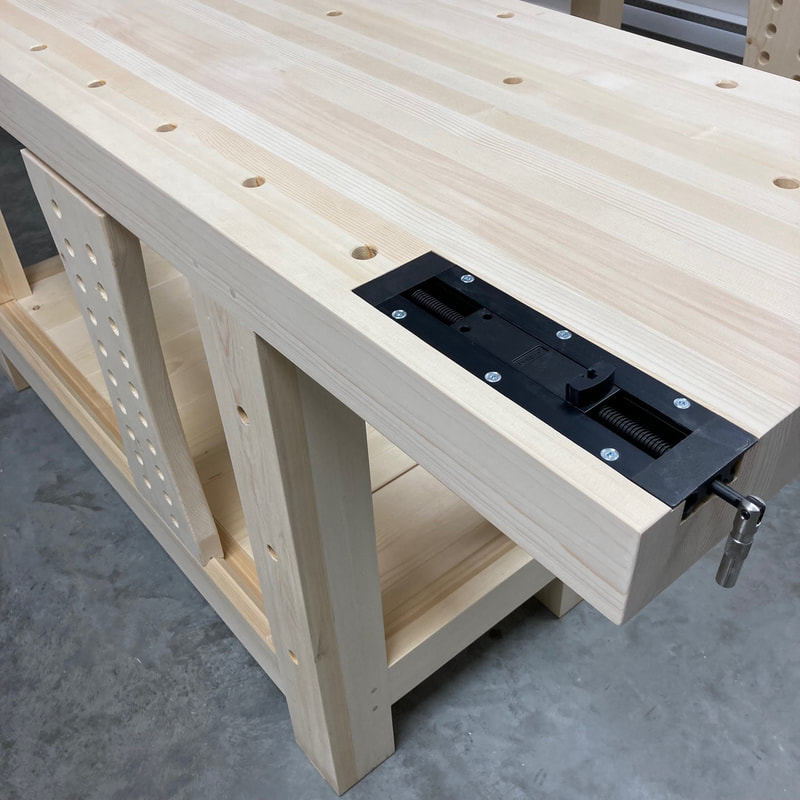
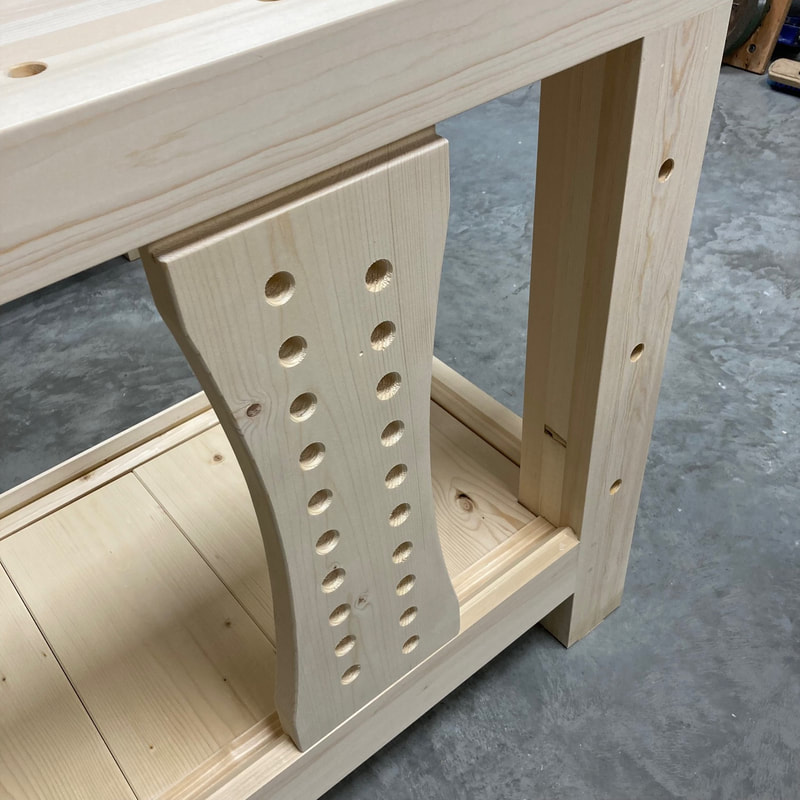
After many years of working on all sorts of different types of surfaces to build things, and when I finally decided to make furniture for real (meaning for a living), I knew that I needed a proper workbench. At first I contemplated buying one, but there was nothing I liked in my area, and the good ones where expensive and far away which meant that shipping would have been prohibitive. So I decided to build one myself. I had seen and read Christopher Schwarz research and work on the different types of workbenches and one of them totally made sense to me. So my mind was made up, and down I went to the lumber store and filled up my truck with the wood I needed to build two workbenches. Why two? Let me explain. I had decided that I wanted two permanent work surfaces (workbenches) in the shop I was using at the time. So I first built the Knockdown Nicholson, a workbench designed by Schwarz because it checked all of the boxes of a small, practical, simple, easy to build "accessory" bench that I was looking for. After I finished making it, I instantly put it to task and built my main workbench on it. This second Bench is based on the one Schwarz made in 2005, which he called "The French Workbench". The following is an essay in pictures of the main steps of my version of the "French Workbench" aka as a Roubo type. I have since built two more of these types of workbenches which you will see in the last pictures for students to use in my classes. If you want more information on how to build one of these types of workbenches, I suggest that you read up on the extensive work done by Christopher Schwarz on the subject, that you buy his book "The Anarchist Workbench" and that you consult Lost Art Press book store and blog for a ton of information on workbenches, and many, many more woodworking subjects. The Main Steps of the Build in Pictures Here are the specifications of my workbench: The lumber is clear kilned dried Douglas Fir that I purchased as s4s 2x12's from one of my hardwood suppliers. You could alternatively buy wood from your home centre, but in my area you will only find Spruce and Pine dimensional lumber. For this bench I wanted Doug Fir. The top is 7 feet long, 2 feet wide, and 5 inches thick. The legs are 5 inches by 5 inches The lower stretchers are 2.5 inches thick by 4 inches The upper stretchers are 2.5 inches thick by 3 inches The height is 36 inches The top overhangs 15 inches on each side The face vise is of the quick release type with a Red Oak jaw. The tail vise is the Veritas Inset Vise The shelves are 1.5 inches thick Douglas Fir The joinery is all tenons and mortises glued and pinned except for the top which is not glued but instead held down by cleats tenoned and mortised to the legs and screwed to the underside of the top. More on the reason why I did this later. Finish: A couple of coats of pure tung oil The total weight: Heavy! Note: The lamination of the top can be done in two or three steps for a less stressful glue-up. The Top Shelf The particularity of this workbench is that it has another set of stretchers at the top that holds a top shelf. Why the heck did I put these stretchers up there and not just add simple shelf supports after the bench was built you might ask. Well, I figured that since I wanted the upper shelf, I may as well just make an extra set of stretchers and at the same time make this thing super rigid and heavier. It wasn't that much more work, but made the bench much stronger. As I mentioned in the specifications, I did not glue the top to the legs, because I knew that I was going to have to move the workbench eventually out of this room and into my new shop someday. I was worried that I was not going to be able to move it whole, so I decided to leave the top unglued and add cleats tenoned to the legs and screwed to the underside of the top so I could remove it for the move. When the time came to move it, to my surprise I was able with the help of a friend and a dolly, to move it without taking the top off. So there you go, a rigid frame, tight mortises and tenons joints, gravity and a few screws keep this heavy top in place and make this workbench rock solid. I love it. I built two more...After completing and moving into my new shop, I built two more workbenches of the same style as my main bench, but this time without the top shelf, and with slightly thinner tops and legs. They were made using the exact same type of construction (laminated top, legs and stretchers) all pinned tenons and mortises joinery. The wood I used for these is a mix of Spruce and Pine 2x4's found at any home centre. They turned out great, and I love these benches as well.
I hope this post was helpful for those contemplating building their own. I highly recommend that you build one of these types of workbenches. They are not difficult to make, and offer the best work surface I have ever used to make furniture. If you have any questions, please leave a comment. Pascal Teste
0 Comments
|
AuthorPascal Teste Archives
March 2023
Categories
|
Copyright 2023 © Pascal Teste Furniture l site design & powered by Egami Creative


 RSS Feed