|
Note: I forgot to mention before that this blog series was written while I was making two benches at the same time. One in red Oak and the other smaller one in Black walnut. This is why you will see pictures showing different size and coloured components. Sorry for the confusion. 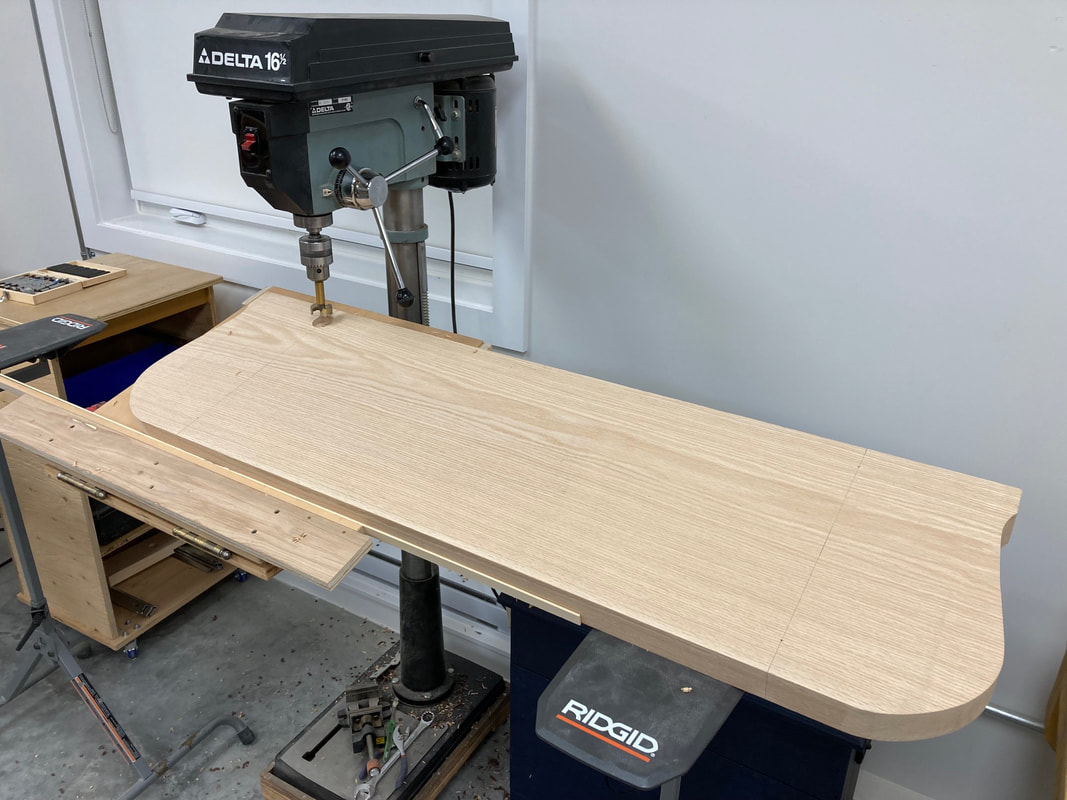 Set-up at the drill press The next step in this bench build, is to drill the mortises in the seat blank that will receive the spindles that hold the backrest and also to drill the mortises for the legs. For accuracy and repeatability, I like to use the drill press to do the task. With the help of an adjustable tilting table clamped to the drill press cast iron table, I can easily set the angle I want by sighting a bevel gauge to the drill's chuck. Now that the jig is set and secure, I simply rest the seat blank on it and start drilling. Because of the length and weight of the seat blank, I place on each side of the drill press work stands to help support one end while I drill the mortises that are at the the other end. 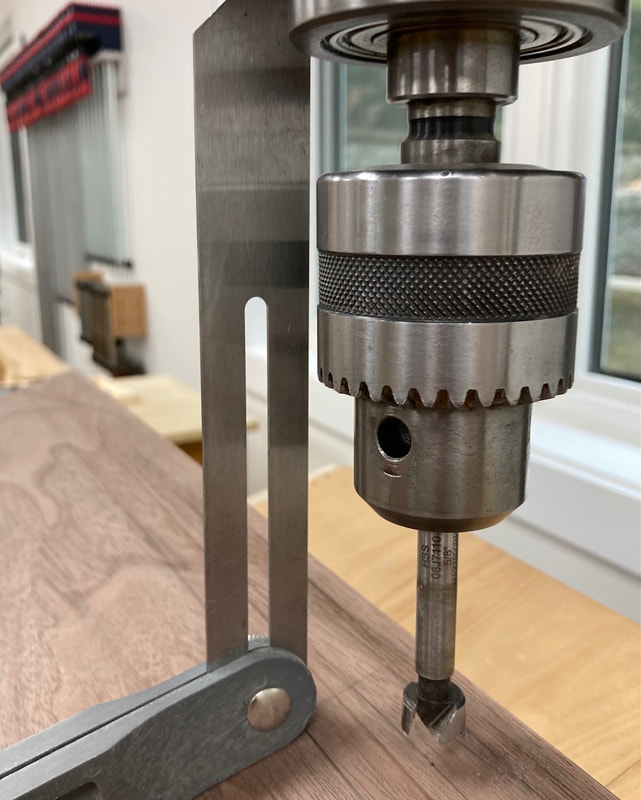 Making sure the angle is correct 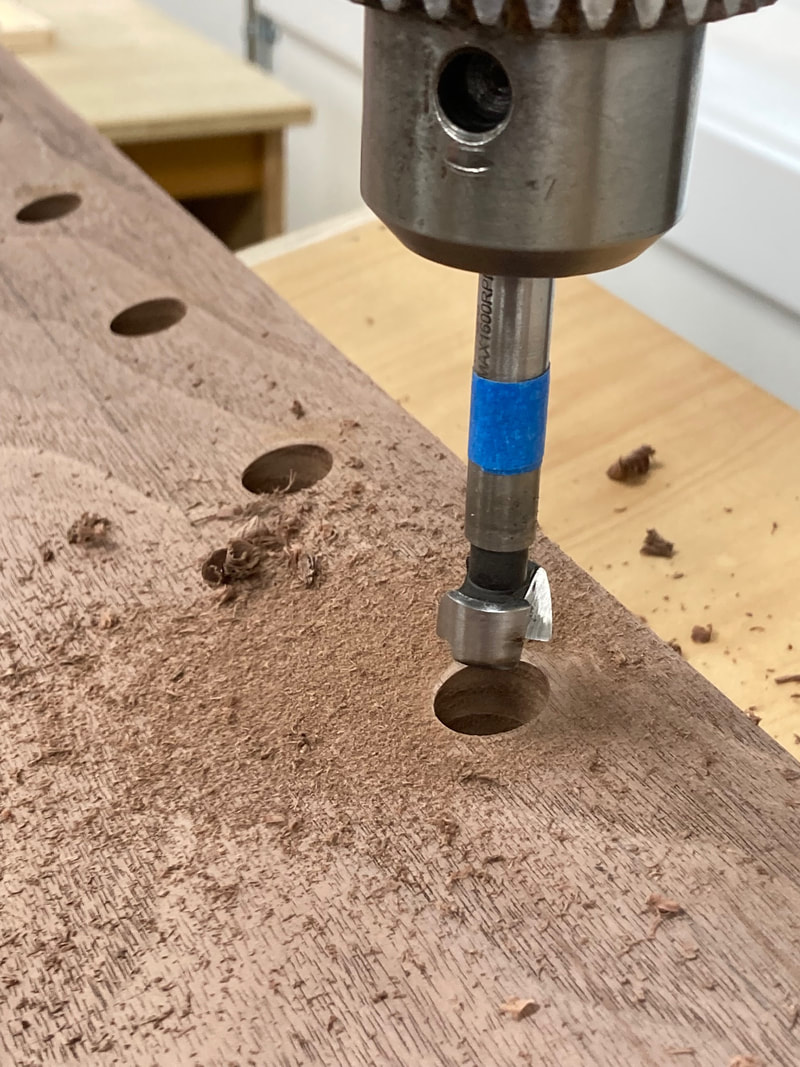 5/8" mortises in the seat for the spindles 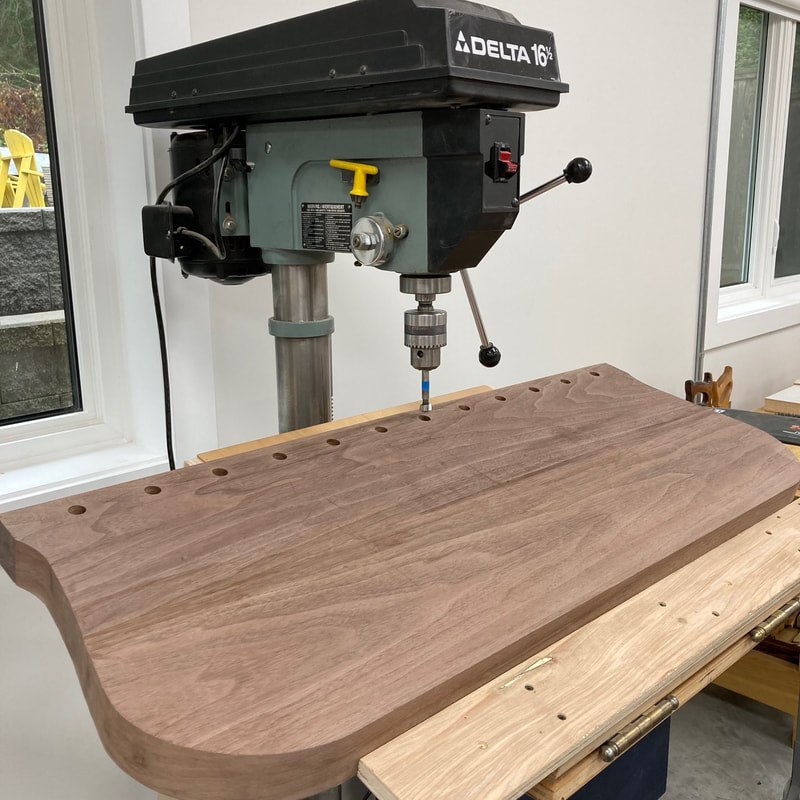 Backrest spindles mortises done After all of the spindles mortises are drilled, I flip over the seat blank and do the rear leg mortises first because they have the same angle as the spindles, so the jig set-up stays the same. As pointed out in Christian Becksvoort's article "Shaker Noir" the legs mortises on this bench were a weak point. One easy fix to this problem would be to drill through mortises and have wedged through tenons hold the legs securely. Many makers build them this way today because it is a strong and reliable joint. However, for this bench, as on the originals made by the Shakers, I like to keep the top surface of the seat "clean" and not have through leg mortises showing. So to make sure the leg joints are strong, I have adopted Becksvoort's method of using a stepped mortise combined with a shouldered leg tenon. This approach increases the bending moment capacity of the joint. See study in the Forest Products Journal 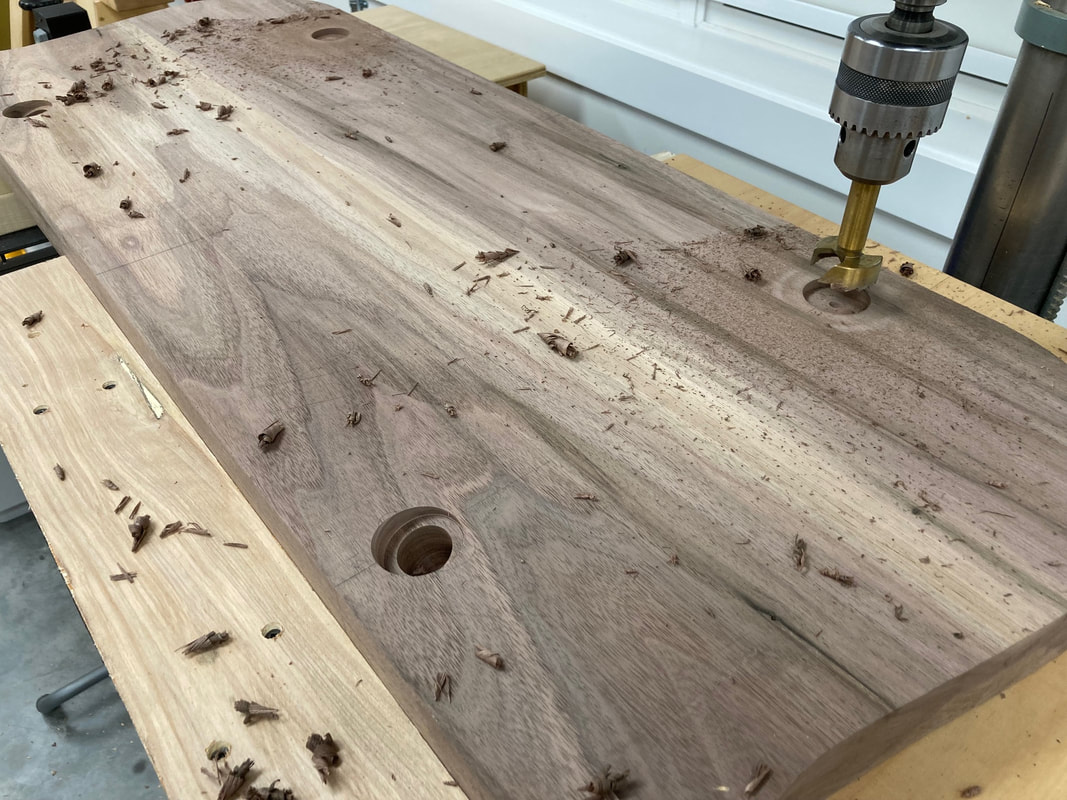 Mortises for the legs 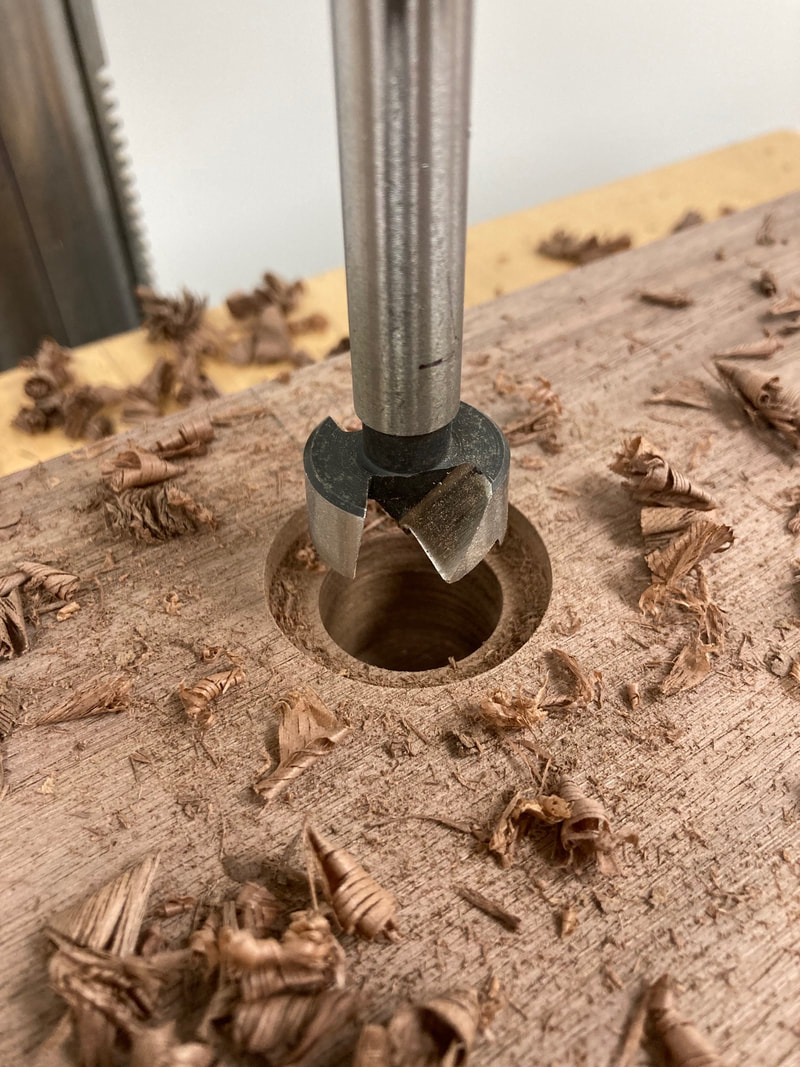 Stepped mortise. 1 1/2" to 1" combined with a shouldered tenon provides a strong joint 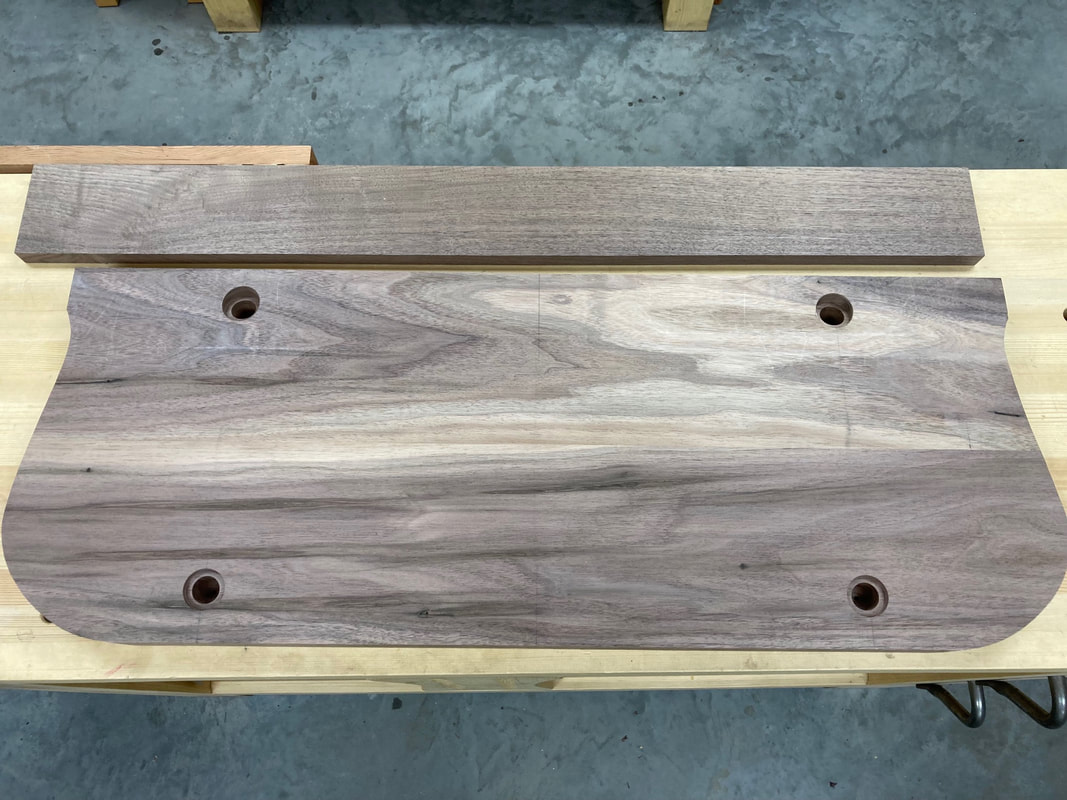 Legs mortises done Finally to conclude the drilling session, I bore the mortises in the backrest that will receive the spindles and join it to the seat. The design of the bench calls for tapered spindles, so these will be 3/8 inch in diameter. I use a block of wood perfectly square to the drill press table and clamp it down so it can act as a fence for me to hold the backrest straight and drill accurate holes. 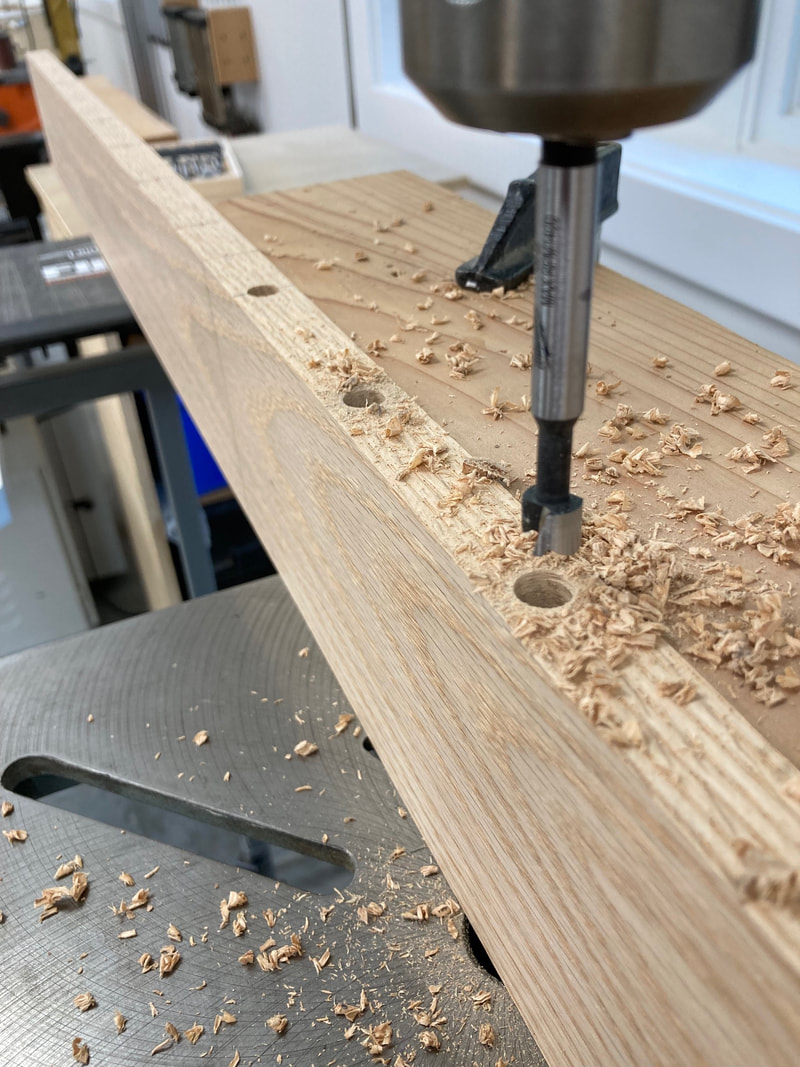 3/8" mortises in the backrest 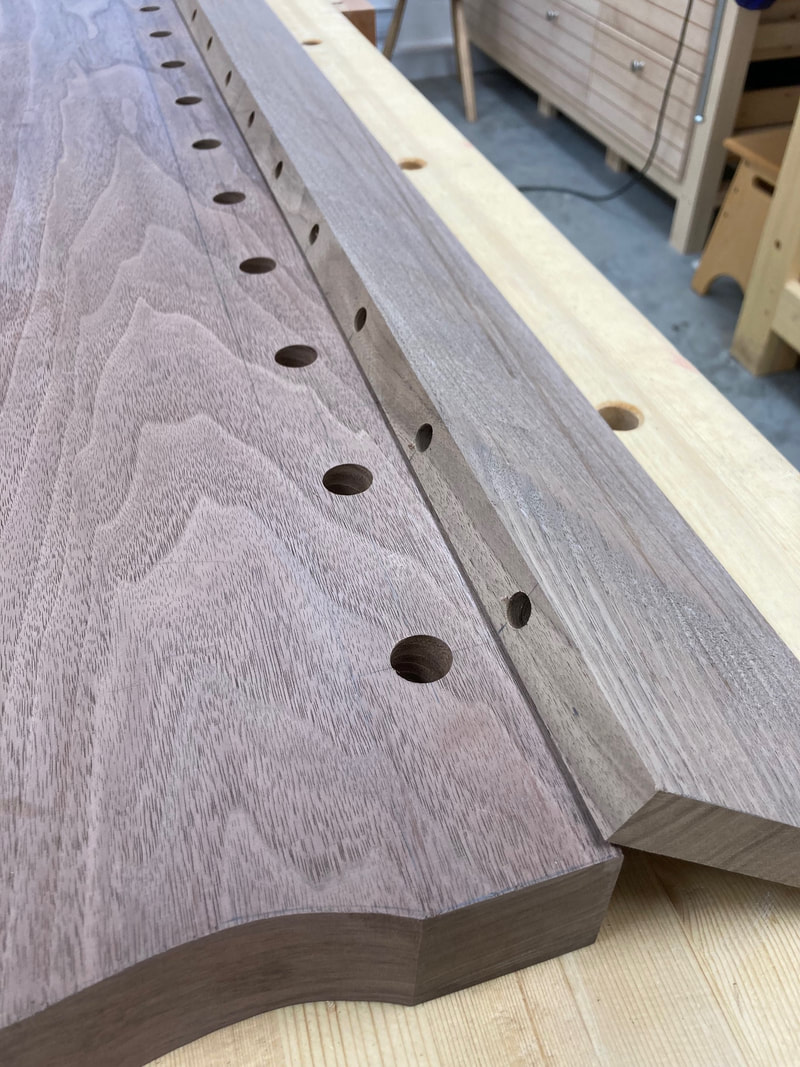 Spindles mortises all lined up. 5/8" in the seat and 3/8" in the backrest The last to do before moving on to the next phase of the build, is to taper the backrest. To do this I use the thickness planner and a simple jig. I screw a small fence to a straight and flat board and tack a 1/8" shim 3 3/4" away from the fence. The bottom of the backrest butts against the fence and the top rides on the shim. The jig is clamped to the table of the thickness planner. The shim tilts the face of the backrest, thus creating after passing through the planner, an angle. Then I flip the backrest around and plane the other face but this time using a 1/4" shim. The result is a perfectly tapered backrest 3/4" at its base and 1/2" at the top. 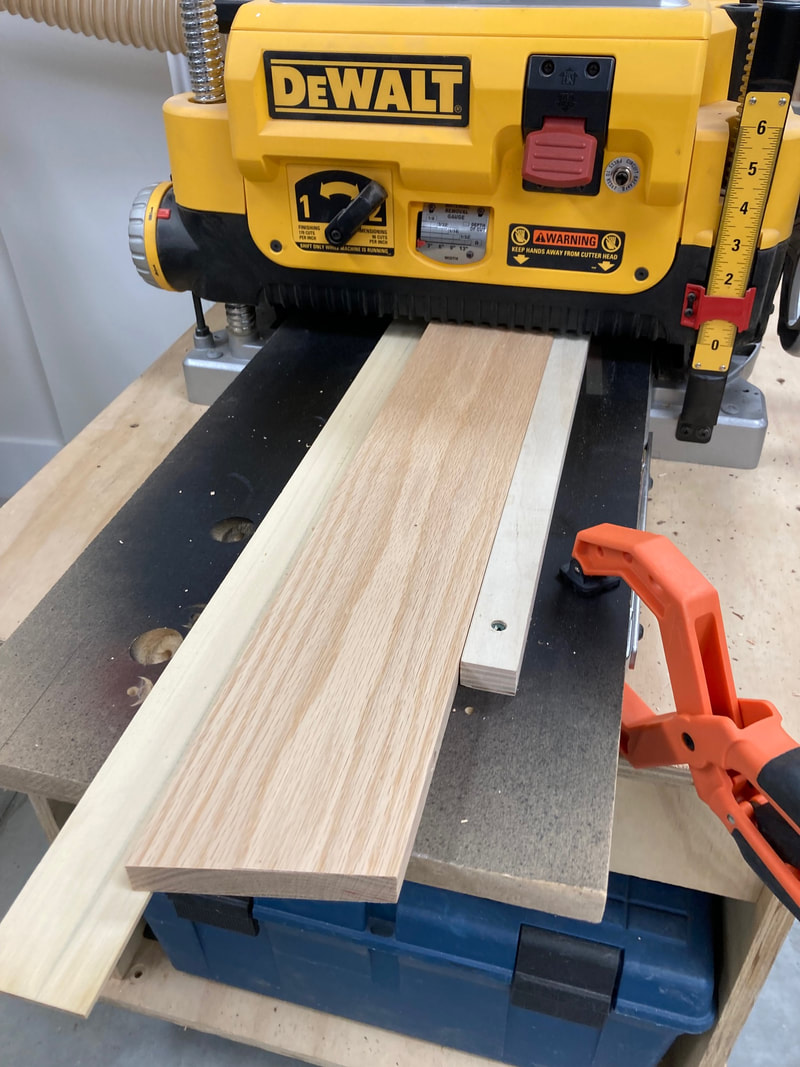 Creating the taper on the backrest with the thickness planner 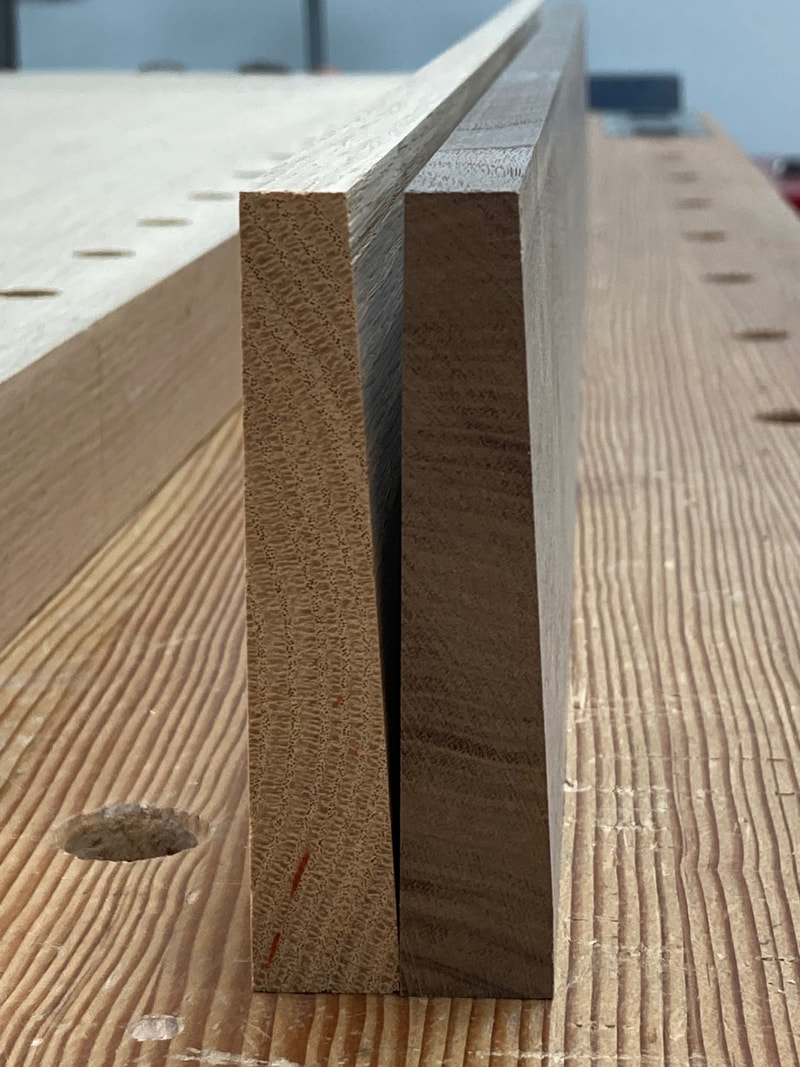 Tapers done 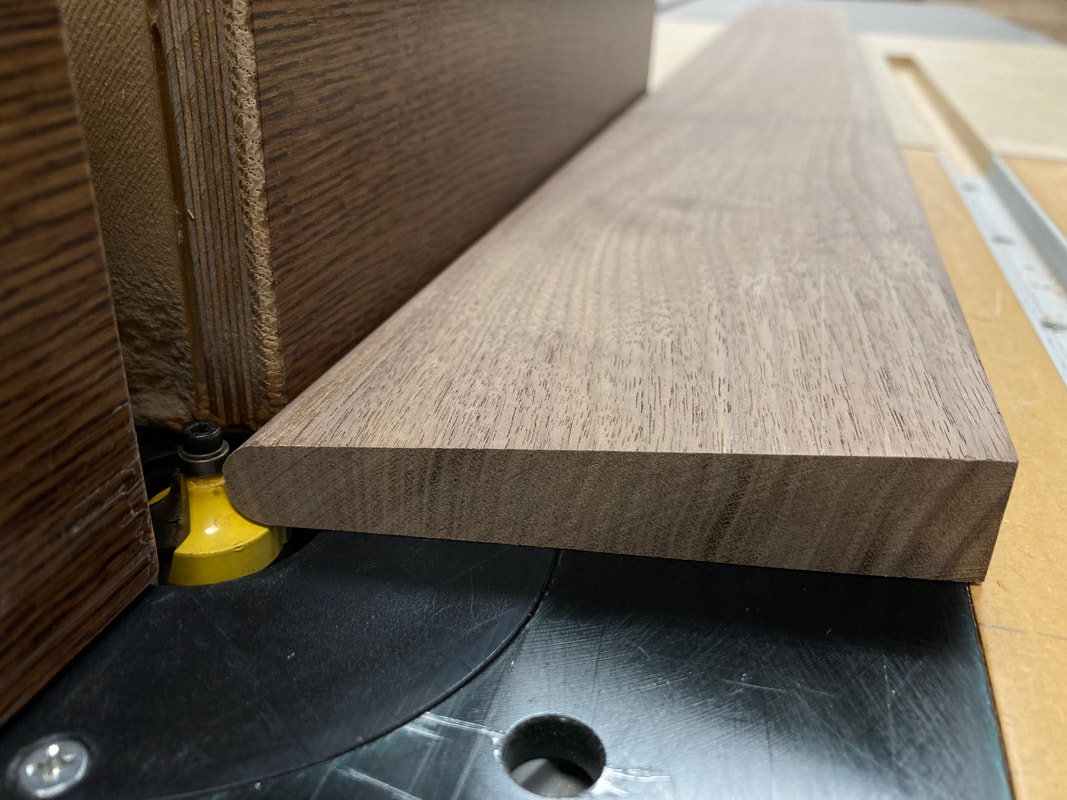 Top of the backrest gets a round over at the router table To complete the backrest, I round over the top at the router table using a 1/4" round over bit. In the next post I will show how I produce the somewhat intricate shape of the seat by using both power tools and hand tools.
Pascal Teste
0 Comments
Your comment will be posted after it is approved.
Leave a Reply. |
AuthorPascal Teste Archives
March 2023
Categories
|
 RSS Feed
Copyright 2023 © Pascal Teste Furniture l site design & powered by Egami Creative