|
When I purchased this 8/4 (2 inch thick) board I did not noticed that it had quite a bit of sapwood on its edges. After I milled the board, the sapwood became clearly visible and I realized that I was going to have to change how I had originally envisioned using this piece of wood. What I mean is that I wanted my seat blank to be all heartwood. The board was 12 inches wide and I needed 15 inches for the bench seat. Unfortunately, because of the sapwood, I couldn't just rip a 3 inch piece off of one board's edge and glue it to the other one to make the 15 inch heartwood piece I wanted. Instead, I had to rip 2 inch strips off of each edge of each board and used the two remaining centre sections to make the 15 inch wide all heartwood seat blank. 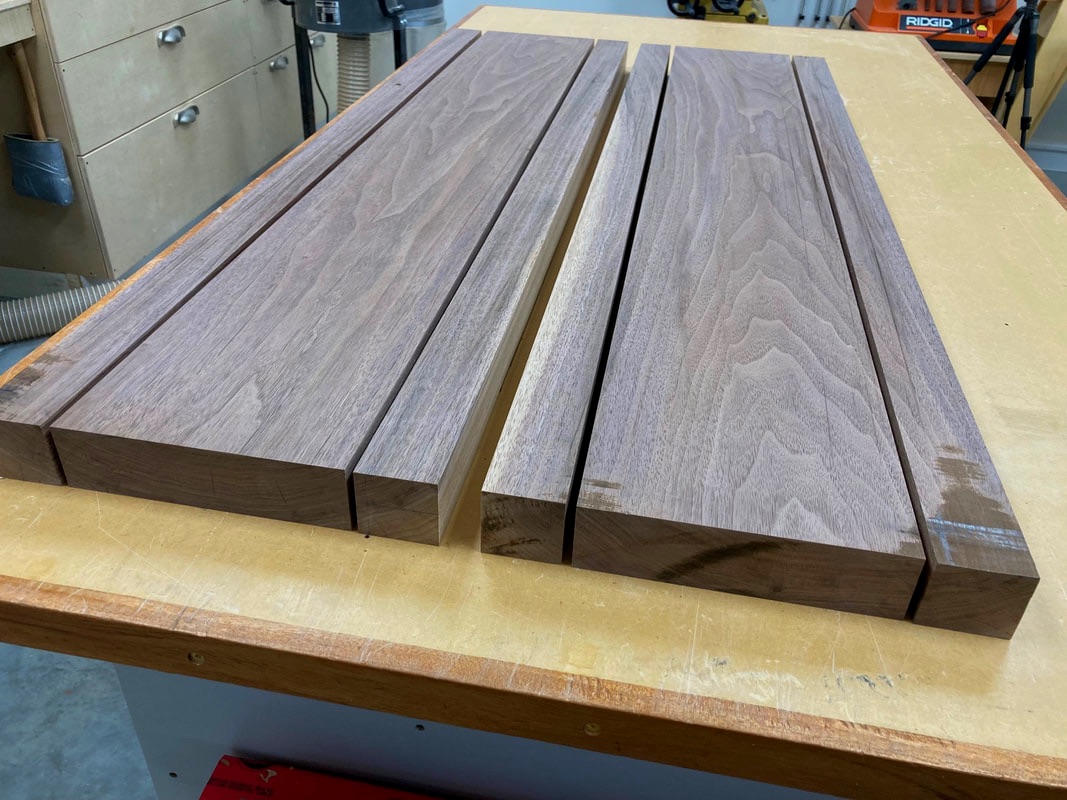 I ripped 2 inches off of both edges on each board to get to the heartwood. 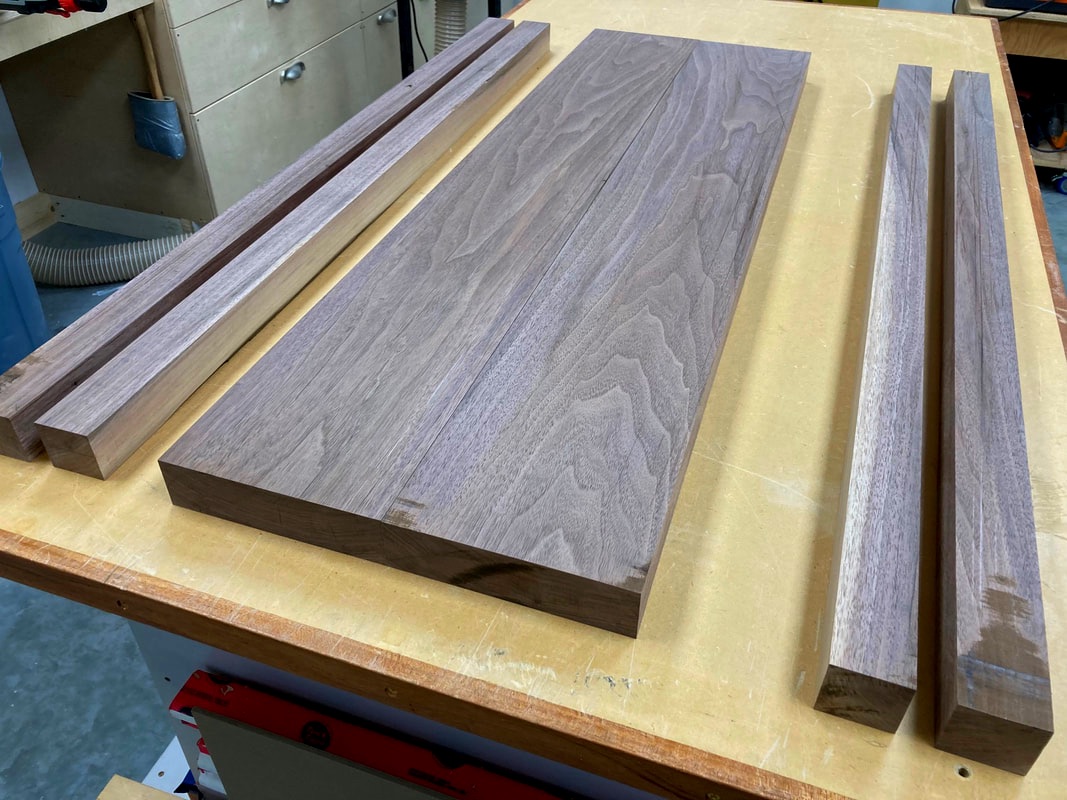 The two centre pieces allow for a 15 inches wide seat blank of homogenous heartwood grain. Before glueing up the two boards, I took the time to match the two edges that allowed for the grain pattern to blend the best, and then jointed one last time the mating edges on the jointer for a clean and tight joint. Then I traced on one end, the shape of the seat's profile so I could mark where to put the biscuits along the joint. If this step is neglected, there is the risk of exposing the biscuits later when shaping the seat. Finally I went ahead and cut the slots for the biscuits with the biscuit jointer. 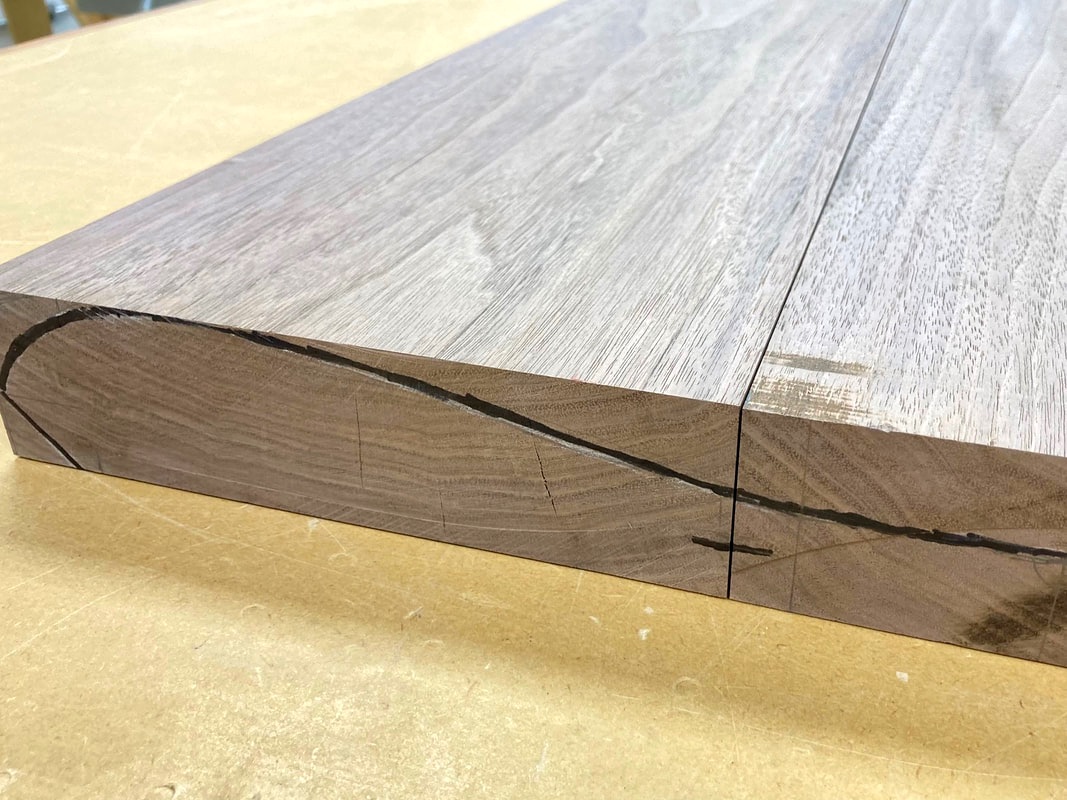 Profile of the seat's shape drawn on one end of the boards to determine where to put the biscuits 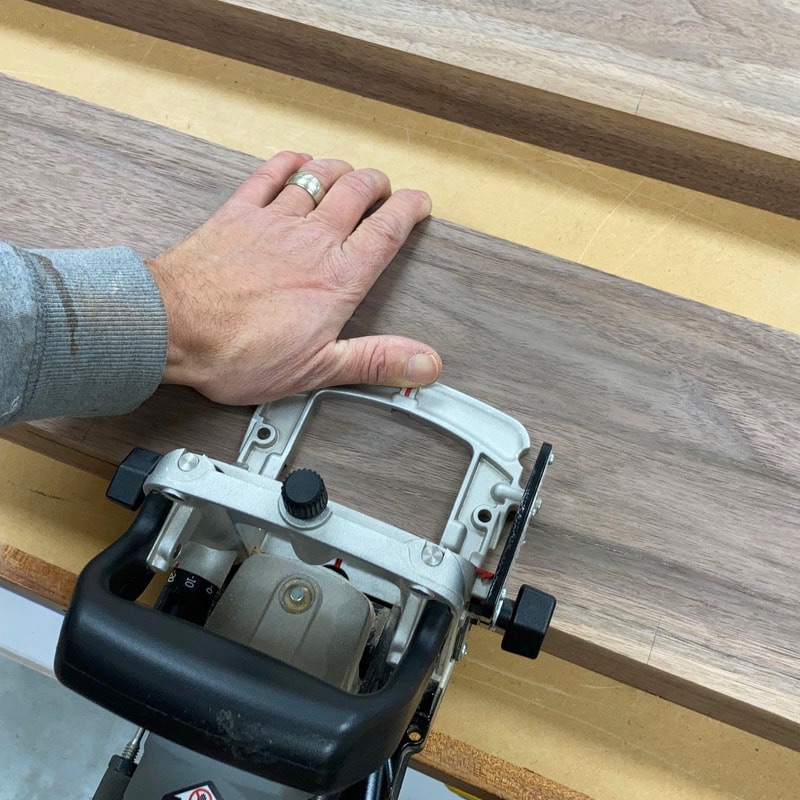 Biscuit jointer action 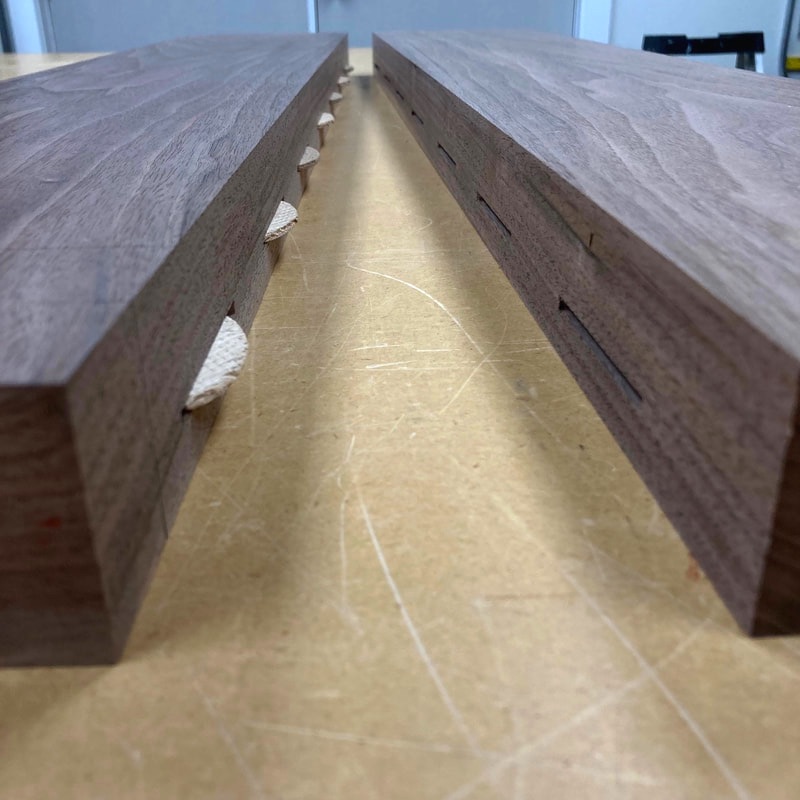 The joint is located where the seat will be at its thinnest, so I did not skimp on the number of biscuits. With the joinery done, I glued up the two boards together and left the clamps on overnight. The next day, I drew the outline of the seat and marked the location of the spindles and legs mortices. 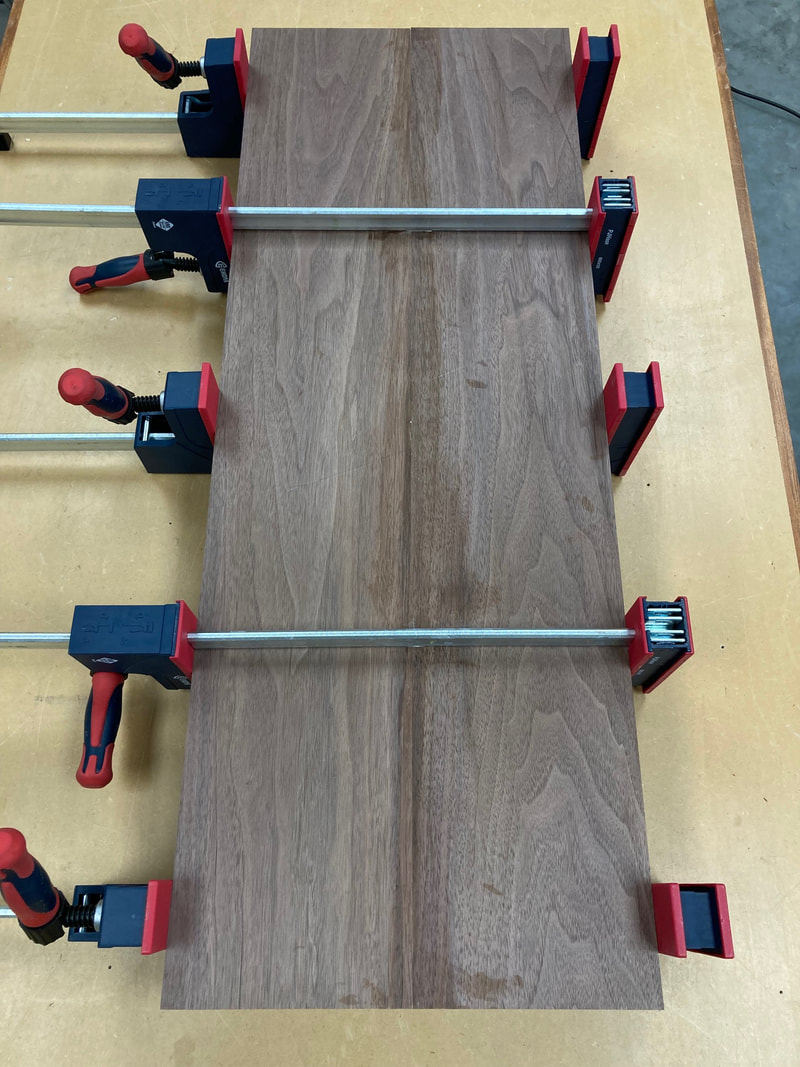 Clamped for the night 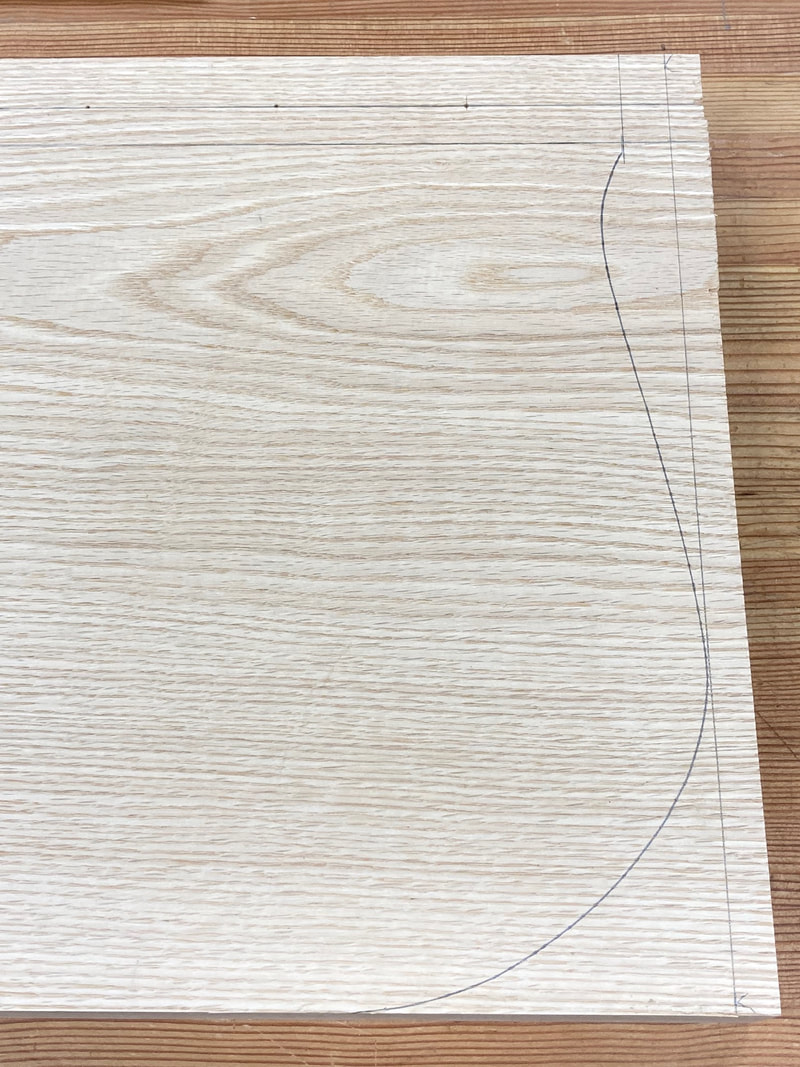 The seat's profile and the layout of the backrest spindles (on red oak for more clarity) I used a jigsaw to do cut of the seat's profile, and then I sanded the rough cut to my layout line with an oscillating edge sander to get a fair curve. Before shaping the seat I will drill all of the mortises for the spindles and the legs. It is much easier to do this now, since everything is flat, parallel and square. 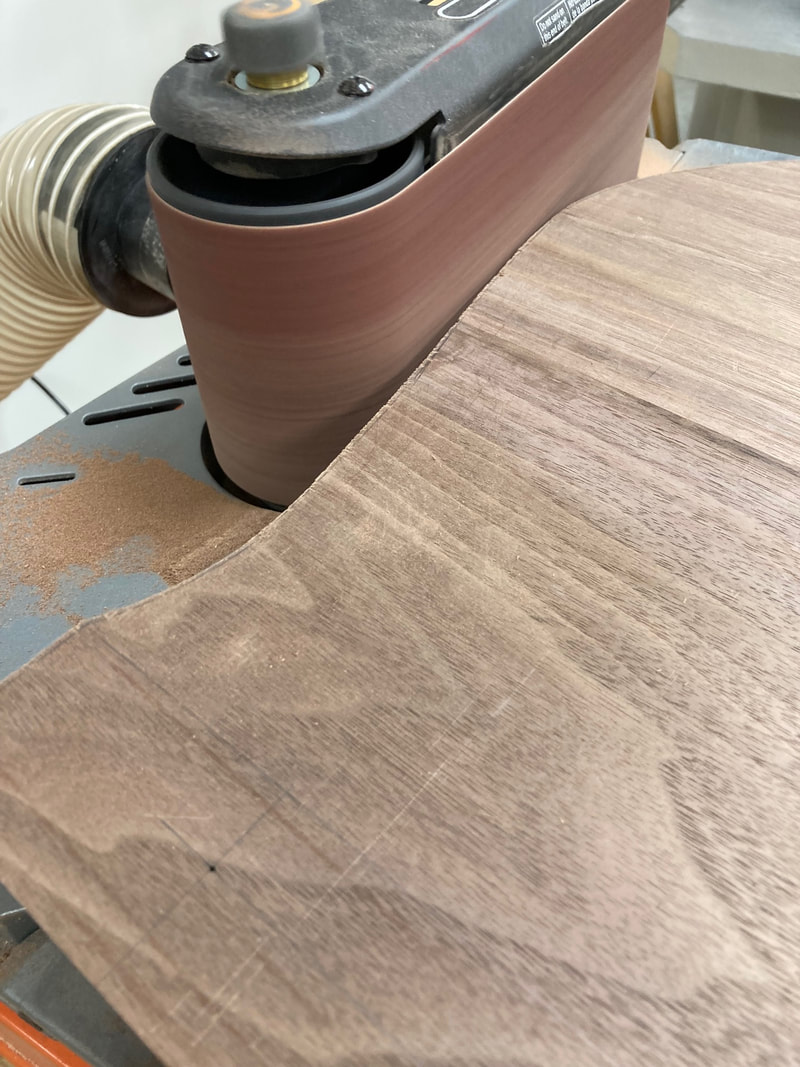 Smoothing out the cut with an edge sander 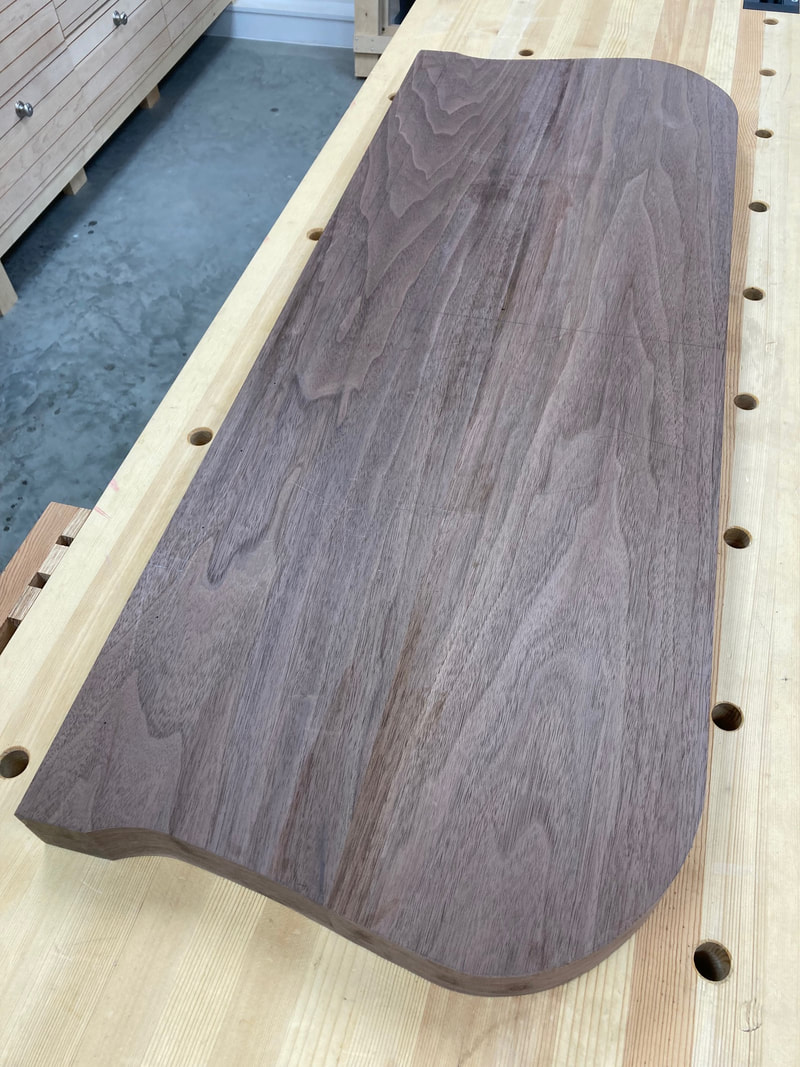 The seat blank The next post will show how I drill the mortises for the spindles and the legs and how I do the taper on the backrest.
Pascal Teste
0 Comments
Your comment will be posted after it is approved.
Leave a Reply. |
AuthorPascal Teste Archives
March 2023
Categories
|
 RSS Feed
Copyright 2023 © Pascal Teste Furniture l site design & powered by Egami Creative