|
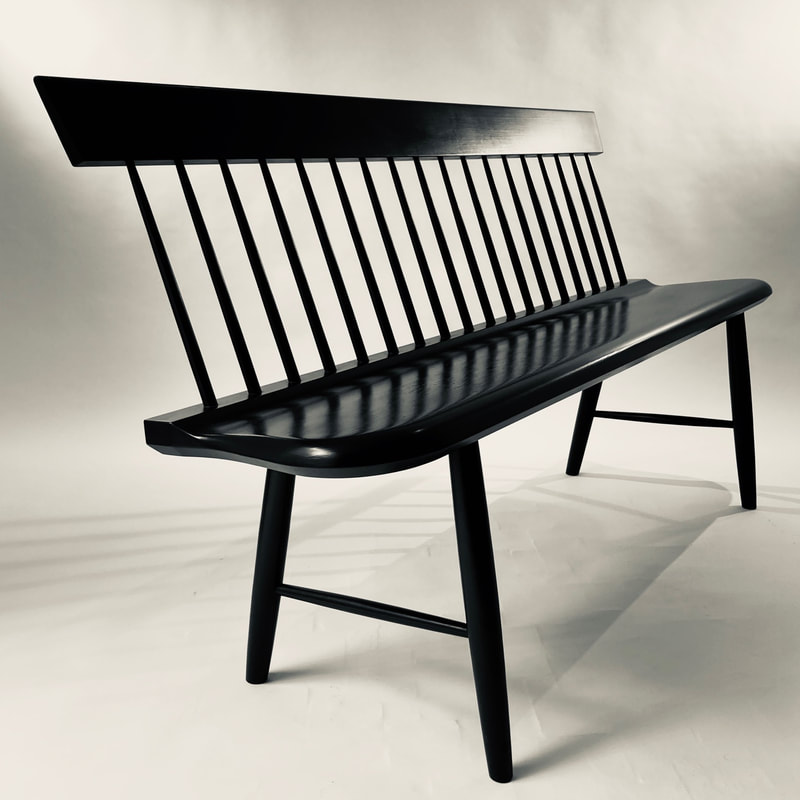
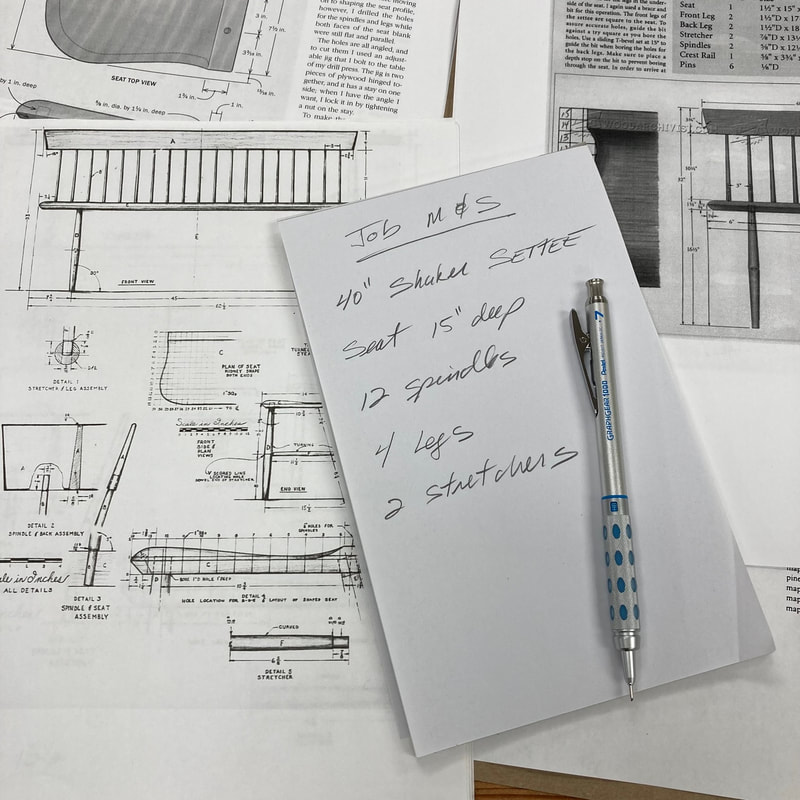
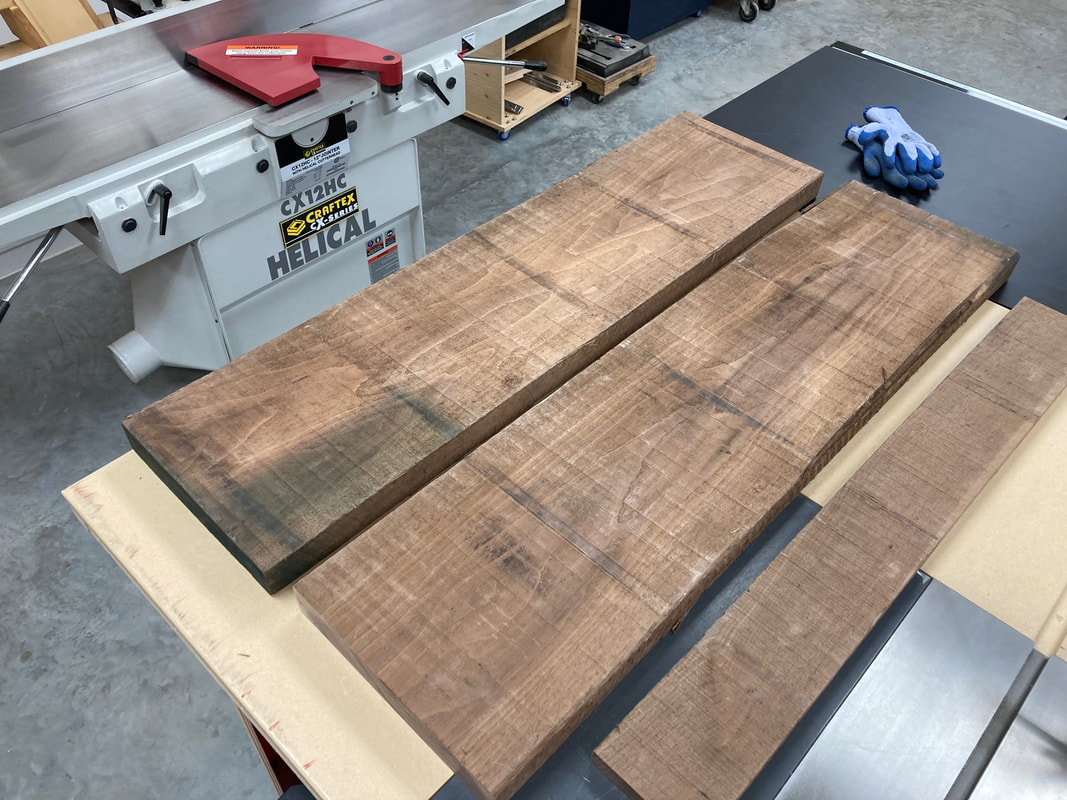
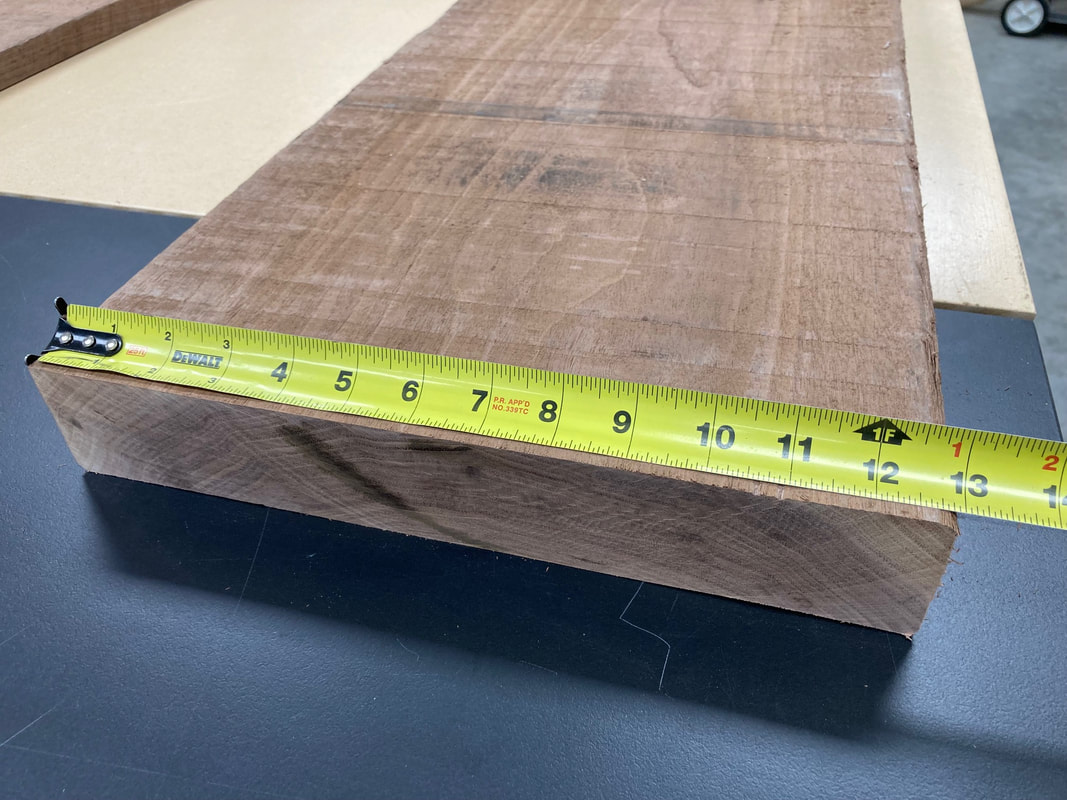
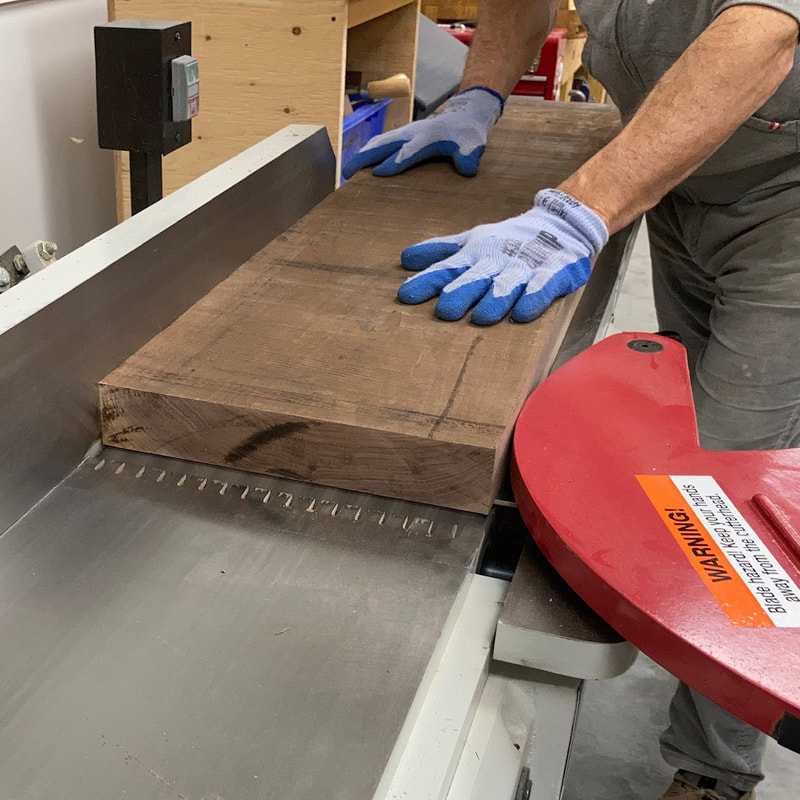
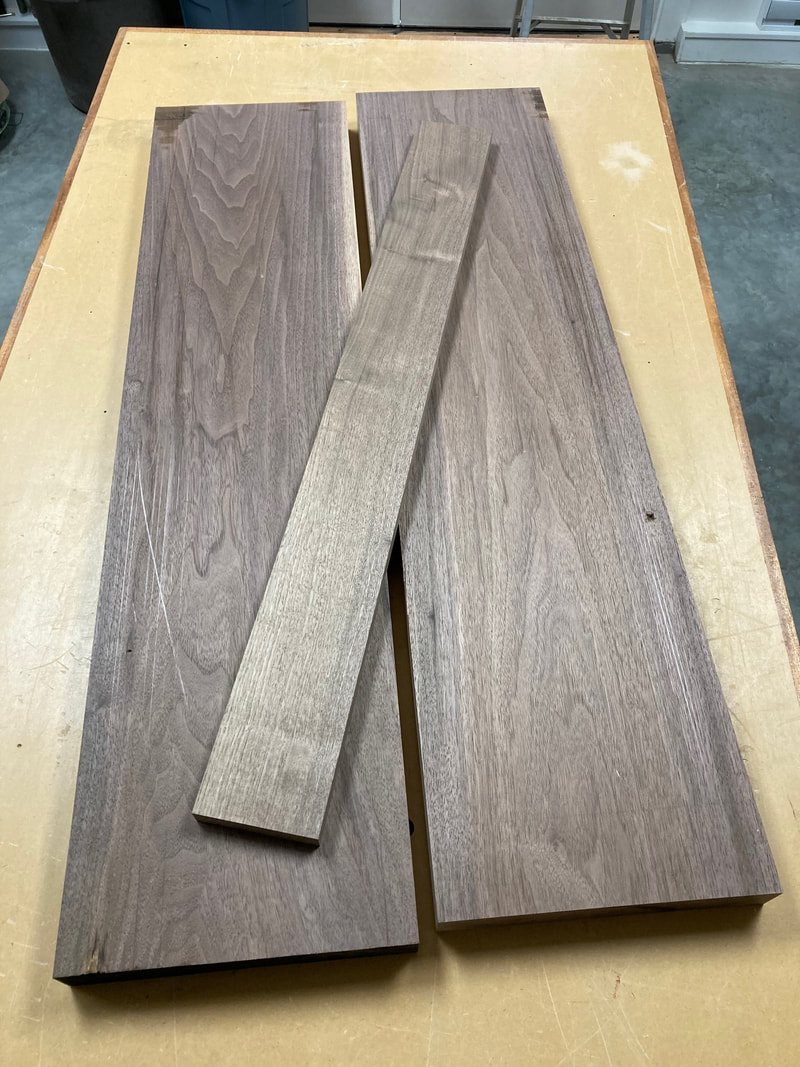
This classic Shaker bench (often called a Shaker Settee), is one of my favourite pieces because it attractively captures the elegant style of the Windsor chairs, and at the same time presents itself in a sleek contemporary form without compromising on comfort. If you ever have the chance to sit on one of these benches, you will find that they are surprisingly comfortable thanks to their ergonomically shaped seat and the gentle seat tilt and backrest angle combination designed into them. Finally, the whole thing is a delightful tactile experience, since every piece of the bench is shaped in one way or another. I have built a few of these benches and even though I am pretty good at figuring out how to make furniture just by looking at a picture, for my first one, I was happy to find the plans in John Kassay's "The Book of Shaker Furniture"and an article written by Christian Becksvoort in Fine Woodworking magazine on how-to build one. The first step of any woodworking project is to pick your lumber and get it ready for milling. The bench I am making here, is going to be in Black Walnut and fairly small at 40 inches wide. So if I'm lucky, with one board of 8/4 (2 inches thick) by 12 inches wide and 96 inches long, I will be able to make all of the parts except the backrest. For that I will be using a piece of 4/4 (one inch thick) by 5 inches wide and 44 inches long. For now these are all cut to slightly larger dimensions and will get re-cut to their final dimensions later. As you can see on the picture above, the board I am using is roughly 12 inches wide and I need the seat of the bench to be 15 inches wide. To achieve that, I will have to glue up a piece of the other section of board I have to make up the difference. However, before that, I have to mill my boards, which means first jointing them on the jointer to get one face and one edge flat and straight. Most of the time I will rip the excess off with the table saw before running all the pieces through the thickness planner to dimension the boards to an even thickness. On my next post I will show how I go about glueing the two pieces together in terms of aesthetics and strength.
Pascal Teste
0 Comments
Your comment will be posted after it is approved.
Leave a Reply. |
AuthorPascal Teste Archives
March 2023
Categories
|
Copyright 2023 © Pascal Teste Furniture l site design & powered by Egami Creative


 RSS Feed